
How to Run a Gallery Walk That Gets Adult Learners Off Their Seats and Into Each Other's Work
I'll be honest, I didn't really use flipcharts until I moved to Germany. Here, they're everywhere: in corporate training rooms, university seminar spaces, workshops, and meetings. I was (am??) a slides person. I like the visuals, the design, the control of a well-made presentation. Flipcharts felt a bit... bare. A bit improvised. I was skeptical. Eventually I gave them a proper try, and use them regularly now.
A gallery walk is simple: students create something, anything —> a written text, a set of ideas, a visual summary, and display it on the wall or around the room, and then circulate to read/analyse/look at and respond to each other's work. That's it. No screens required. No special software. Just paper, markers, and the willingness to get out of your seat.
What happens inside that simple structure is anything but simple. Students are required to engage with others’ work and read carefully. They think critically. They communicate in the target language (ideally). They give and receive feedback. And they do all of this without you at the front of the room leading every moment.
What Actually Happens When You Run a Gallery Walk
Before we get into the how-to, it's worth understanding why this work, because when you know the why, you can adapt it confidently to your own context.
Movement makes all the difference. Adult learners, especially those in workplace or university contexts, spend most of their day sitting. Getting up and walking around physically signals a change of mode. It wakes the brain up. It shifts the room from "passive reception" to "active participation."
Reading other people's work is motivating. They have a real audience. Their work will be displayed on the walls. When students know their work will be seen by peers, not just handed in to you, they care more about it. It becomes a real communicative act, not just an exercise for a grade.
Peer feedback is deeply valuable. In my experience, students notice language features more readily when they see them in a peer's work than when I point them out myself. There's something about the peer dynamic that lowers the stakes, it doesn't feel quite like being corrected with a red marker, and more like being in conversation. I make it very clear that peer-feedback is not about hunting for mistakes, but rather getting fresh eyes on their work, seeing things they might not have noticed themselves, and hearing ideas they wouldn't have thought of alone. And because everyone displays something and everyone walks, everyone gets feedback. No one is just a reviewer and no one is just being reviewed.
It slows down the process. In a speaking activity, language flies by. With a gallery walk, students can pause, re-read, point, discuss, and come back. This is especially powerful for form-focused tasks where we want to focus on register, grammar, and vocabulary range.
It's naturally differentiated. Students move at their own pace, choose what to focus on, and engage at the level they can. Quieter students often thrive in this format because they're not put on the spot.
What You Need (Spoiler: It's Very Little)
A wall or surface to stick things on
Flipchart paper, A3 sheets, or large pieces of paper
Markers (ideally a few colours)
Post-it notes + sticky tack or small pieces of paper and tape
Students. That's it.
A note on flipcharts: If you've never used them, they're large pads of paper (usually around 60 x 90 cm) on an easel. They're standard in German corporate and academic settings, and incredibly practical for this kind of activity. Pages can be torn off and stuck directly to the wall, which makes gallery displays quick and easy. If your institution doesn't have them, large sheets of paper or even A3 taped together work just as well.
How to Run a Gallery Walk
Step 1: Design a task with something worth displaying
The foundation of a good gallery walk is a task that produces a visible, readable output, something meaty enough for peers to engage with. This might be:
A piece of writing (a paragraph, a business email, a summary)
A set of guidelines or recommendations
A visual summary of a discussion or meeting
An annotated text
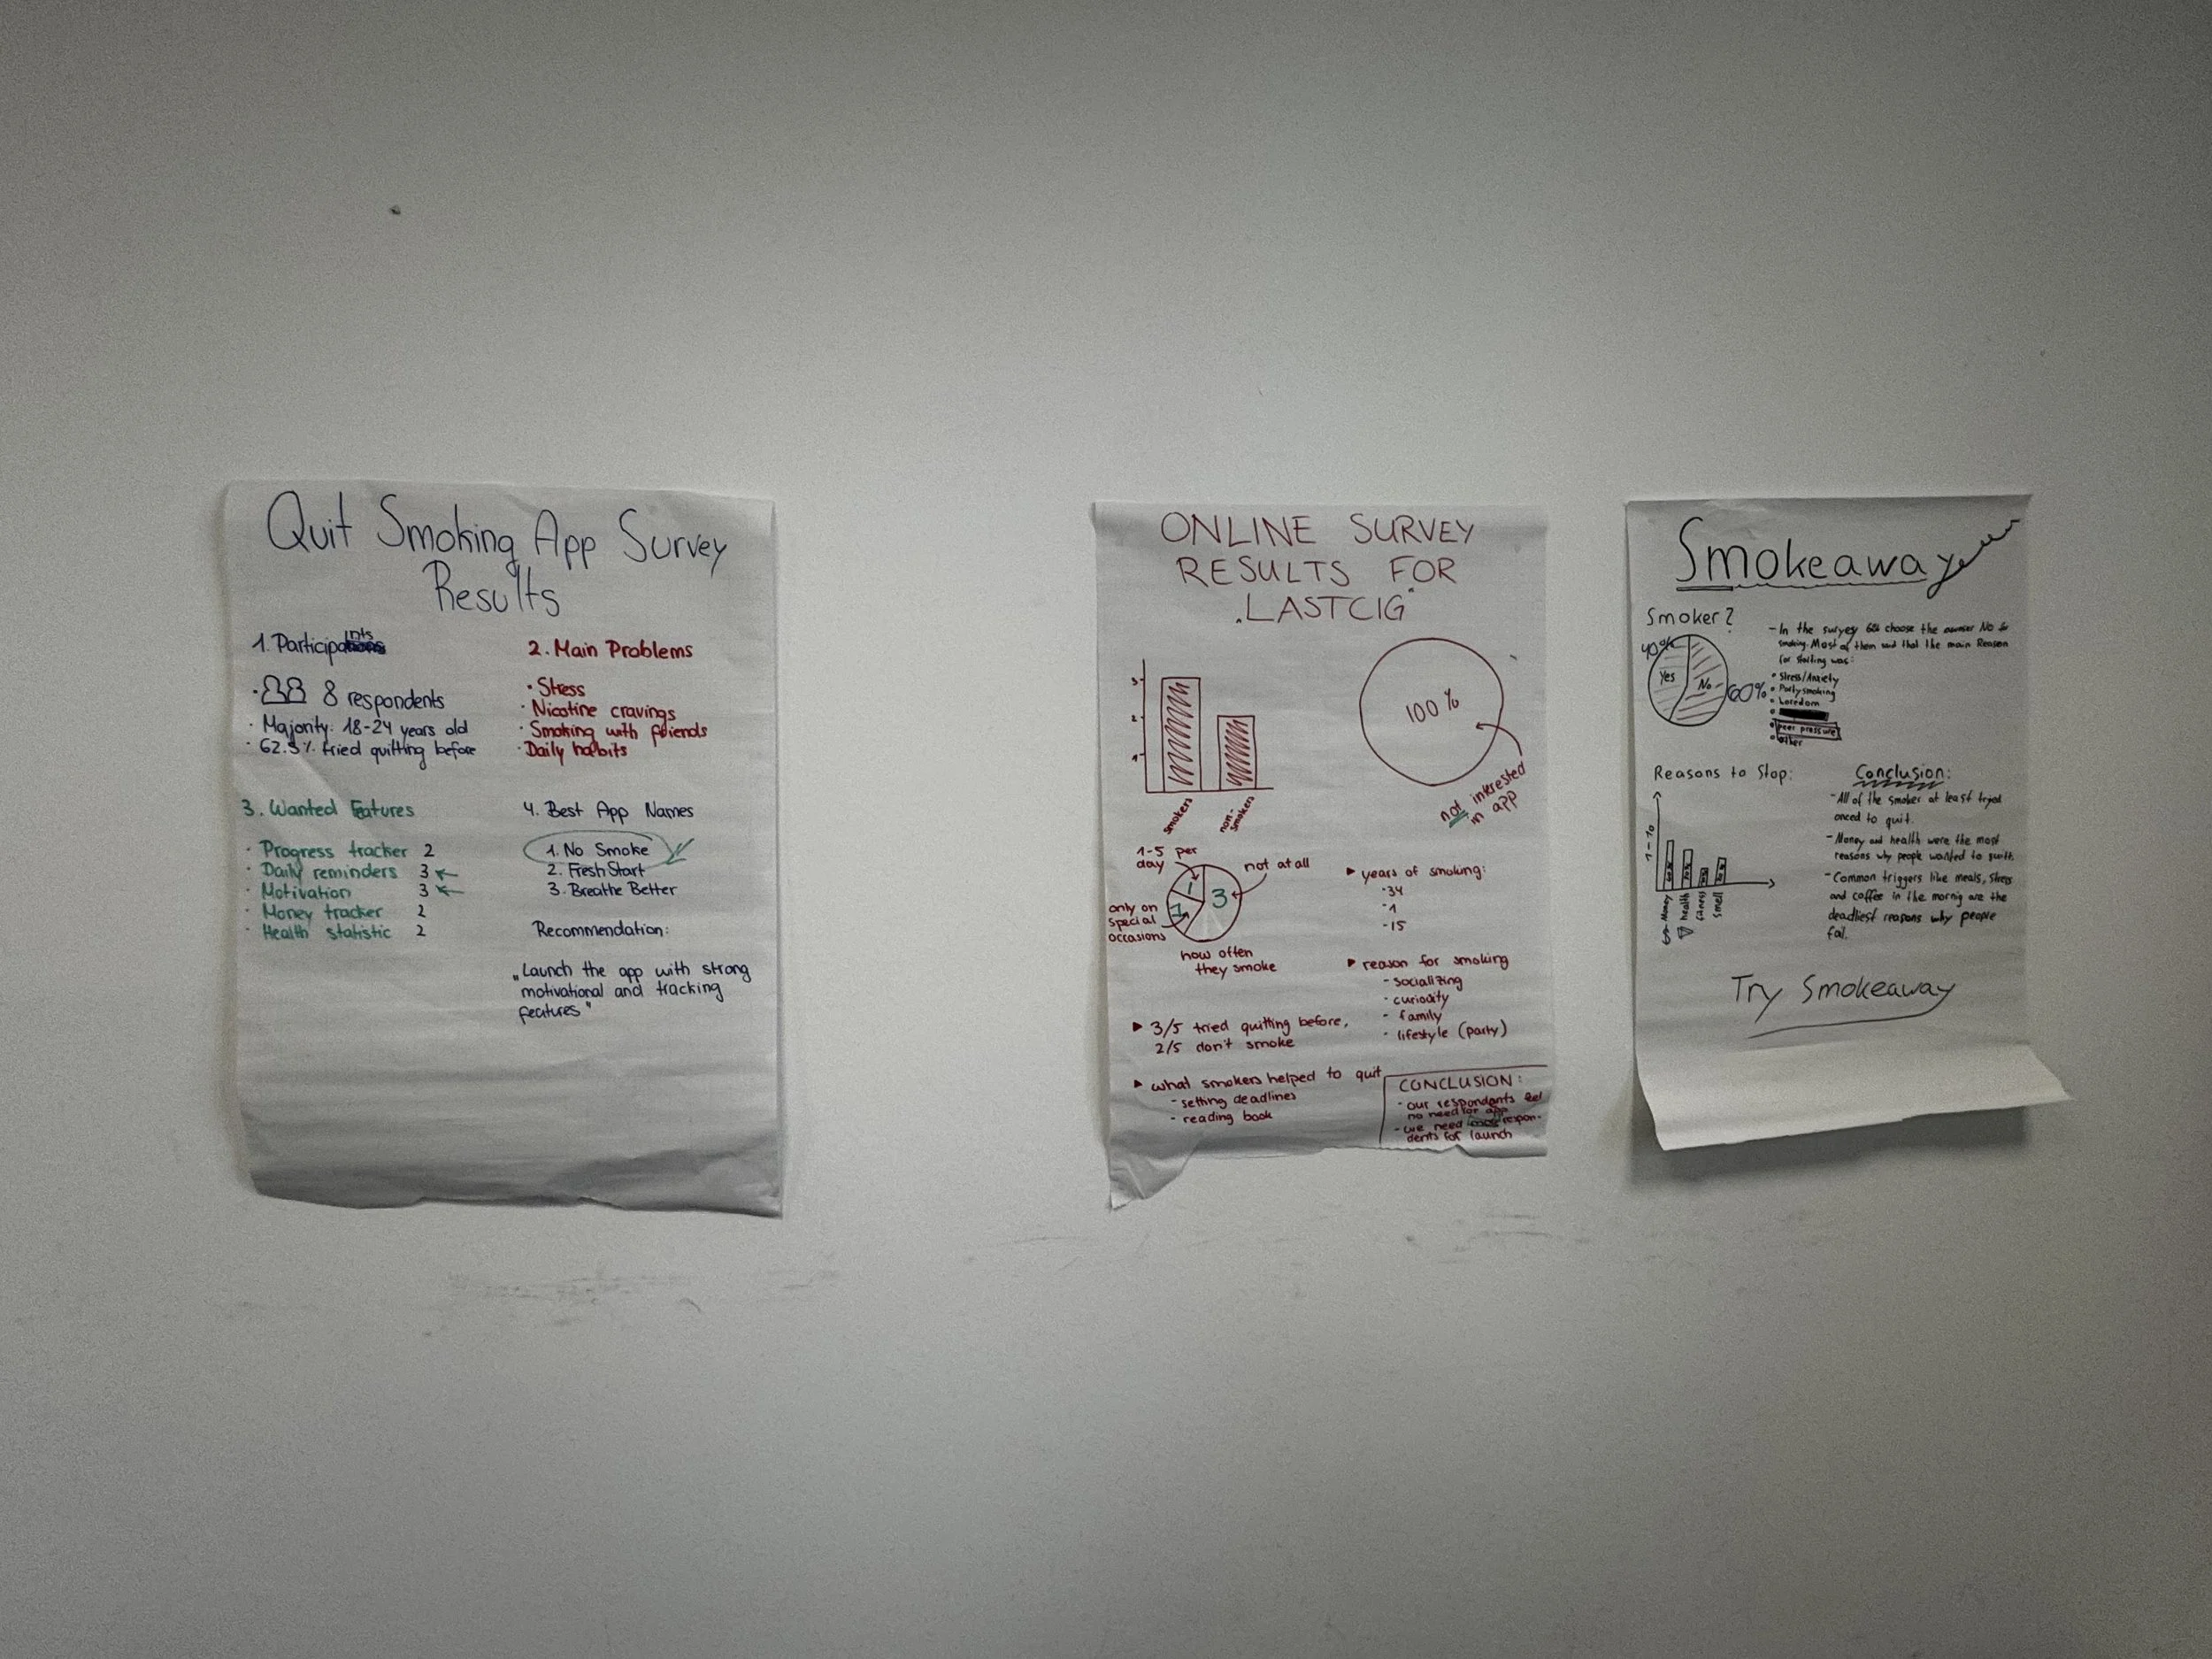
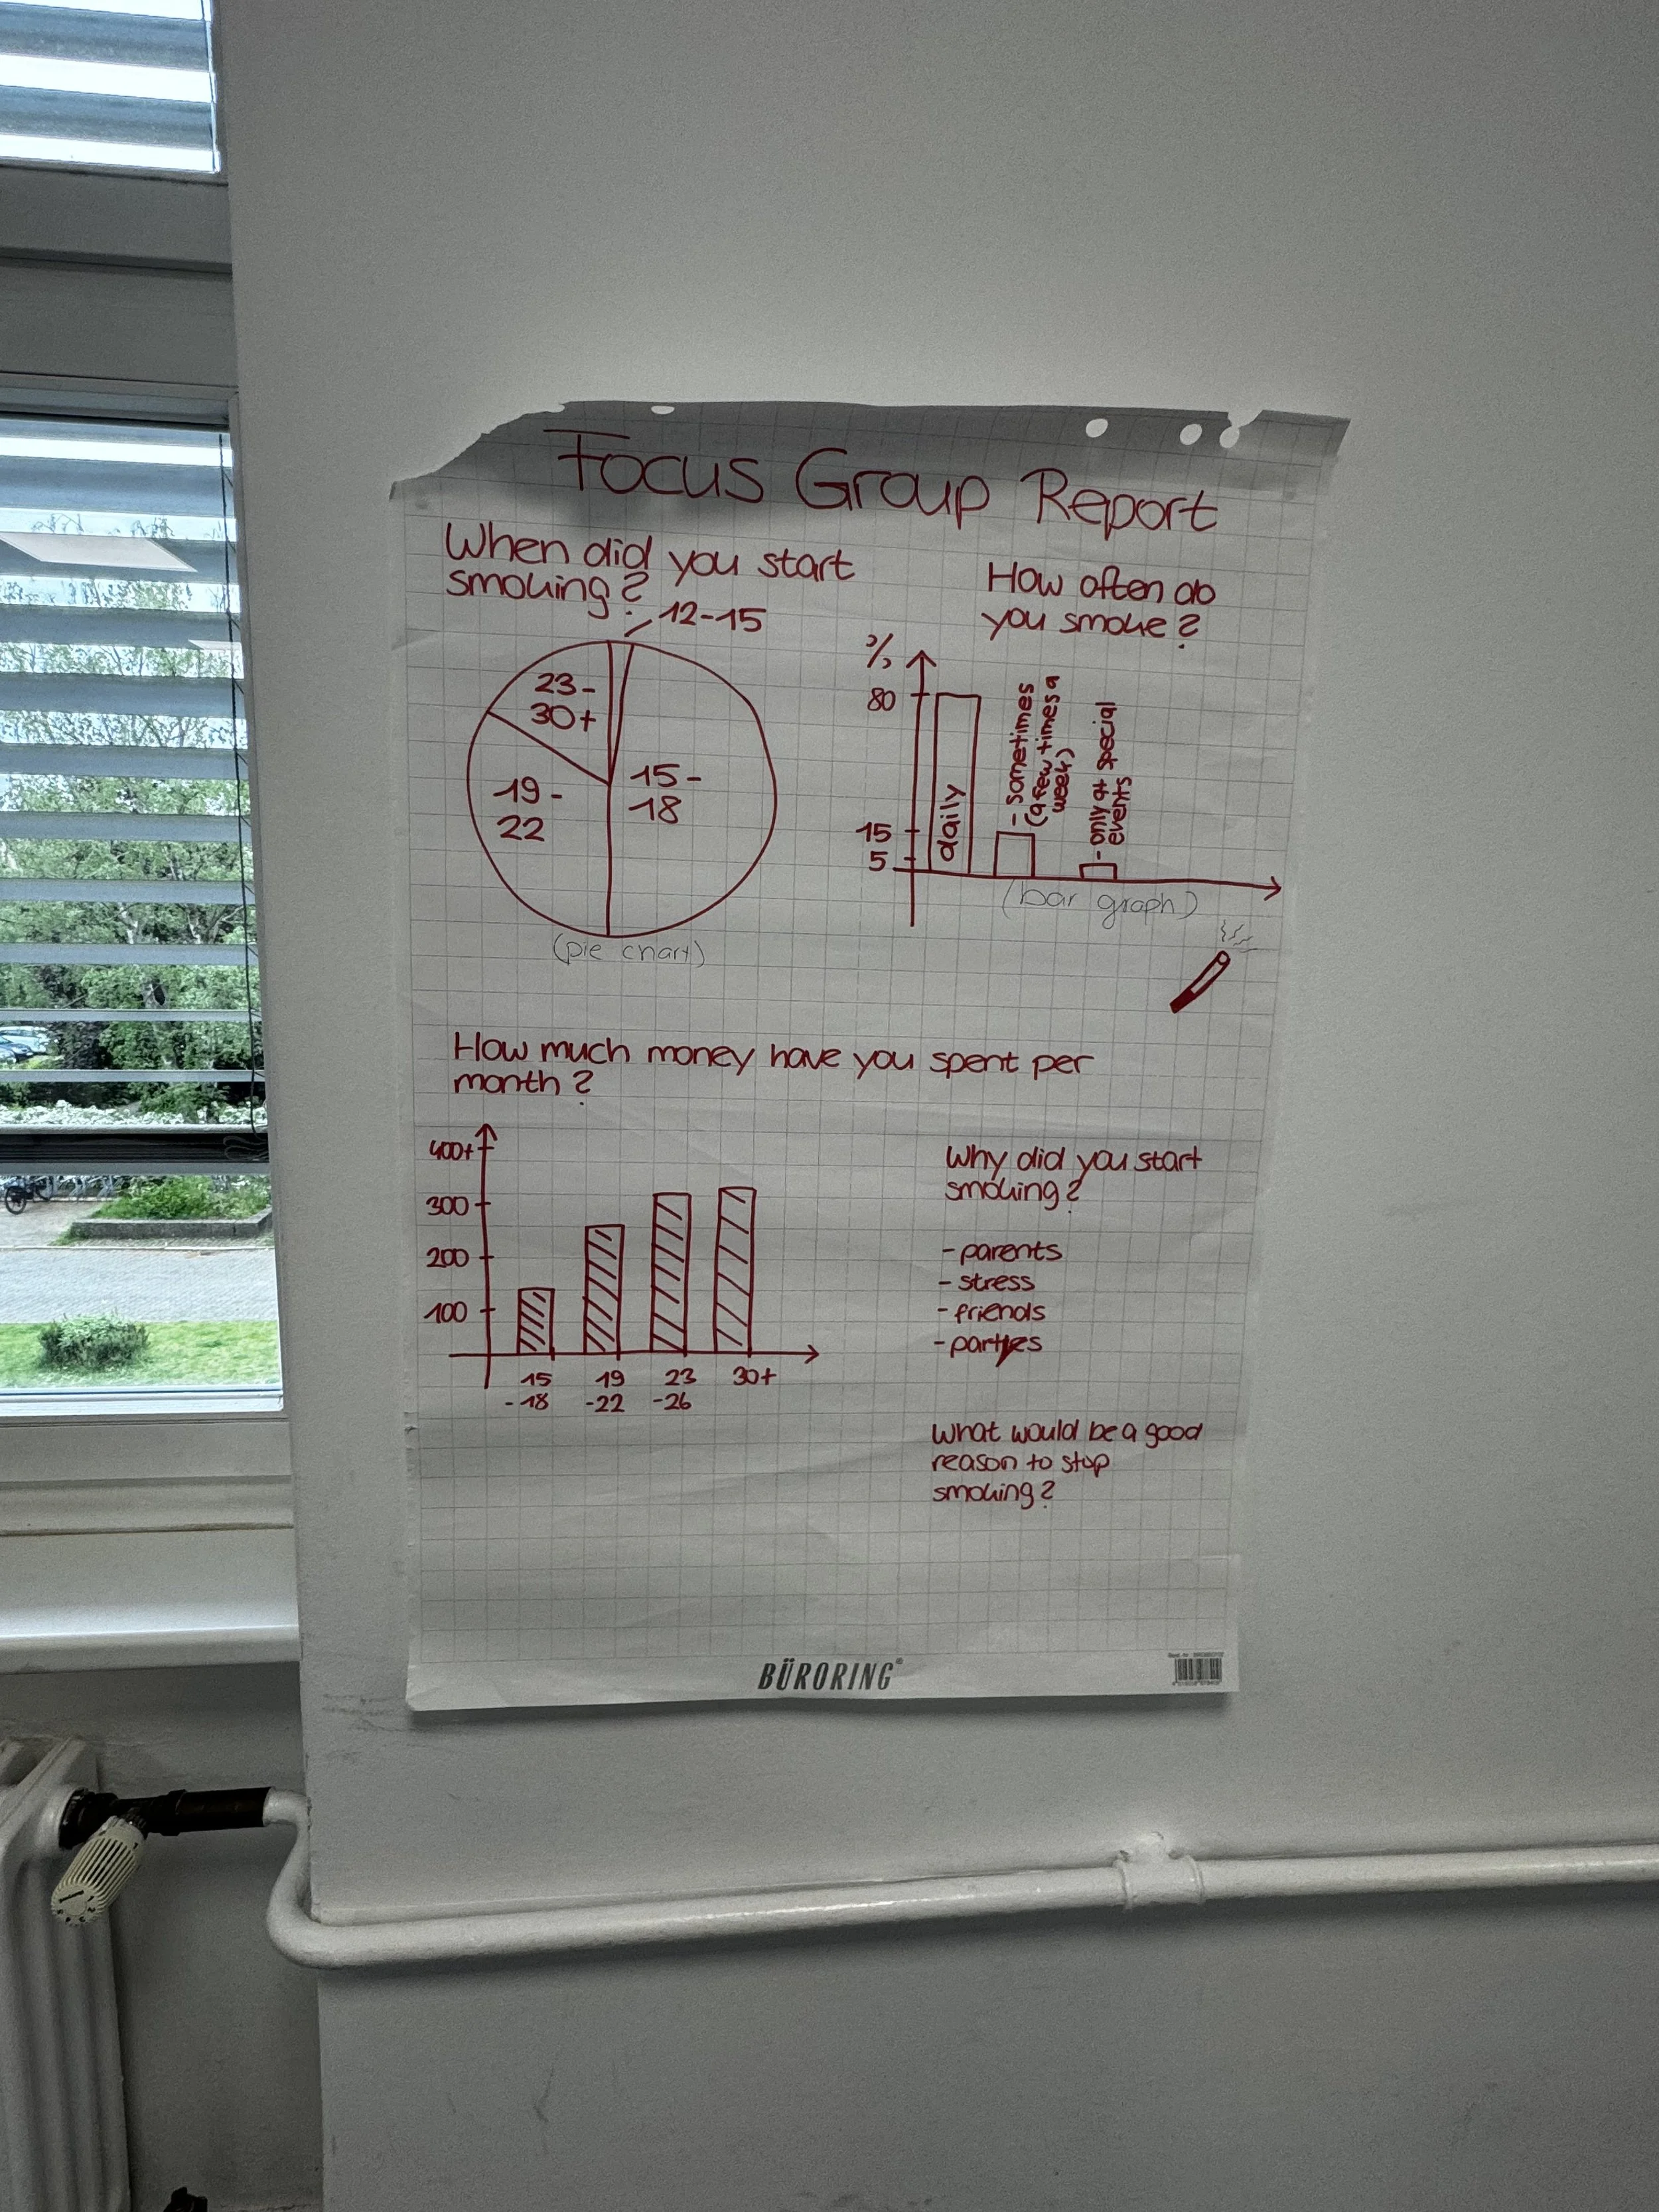
The results of data analysis (see pictures below)
Groups of two to four work well. Individuals can also participate, but pairs and small groups tend to produce richer content and reduce anxiety around displaying imperfect work.

Step 2: Give clear production guidelines
Tell students what their output should look like. Do you want charts? images? How big should the text be? Should they use bullet points or full sentences? Should they include a title? A few constraints help students focus and make the work readable for the gallery phase. Remind them that someone else needs to be able to read it from a short distance away, this naturally encourages clearer, bigger writing.
Step 3: Set up the gallery
Once groups have finished, display the work around the room. Flipchart sheets can be stuck directly on walls with masking tape or sticky tack. I like to leave sufficent space between each piece so students can gather around without crowding.
Step 4: Brief the gallery walkers
Give each student a set number of sticky notes (three to five works well). Their job is to leave feedback on at least two or three of the displayed pieces by using up all their sticky notes. You can structure this in different ways depending on your learning objectives (see below for ideas). A simple and reliable framework is:
One sticky note: what worked → something specific they found effective, clear, or impressive
One sticky note: a question → something they didn't understand or wanted to know more about
One sticky note: a suggestion → a language improvement, a rewrite, an alternative
Teacher Tip: Ask students to sign their sticky notes anonymity tends to produce lazier feedback. Accountability, even within a friendly classroom culture, improves quality.
Step 5: Return and respond
Once the walk is over, groups return to their own work to read the feedback they received. Give them time to discuss: Do they agree? What would they change? This closing reflection step is easy to skip when time is tight, but it's where a lot of the learning consolidates. Even five minutes of discussion is worth it.
Real Classroom Examples You Can Steal
Register Transformation Task
Give students an informal message like a WhatsApp-style text, a casual email, or a social media post. Ask them to rewrite it in two or three different registers on their flipchart: a formal complaint letter, an internal memo, a customer service response. Groups display their transformations side by side.
During the gallery walk, peers can annotate directly on the work using a different colour marker (with permission), suggesting alternative phrases or noting where the register slips. I have found this to be a very effective vocabulary-building activities I've used in business English contexts.
Scavenger Hunt: Language in Action
A great alternative to leaving feedback, is to hunt for specific types of language or data. Once groups have displayed their written work, give each student (or pair) a set of prompts to look for as they walk around the room:
Find a phrase used to apologise
Find a place where the writer takes responsibility
Find language used to reassure the reader
Find a hedging expression
Find a phrase that signals a request
Students move through the gallery looking for examples in their peers' flipcharts, noting where they found them and why they think they work. The room becomes a collaborative language analysis, that leads to students reading each other's writing with real purpose and attention.
Teacher tip: Carve some time to go over the findings, correct any language, point out useful sentence stems, identify misconceptions etc.
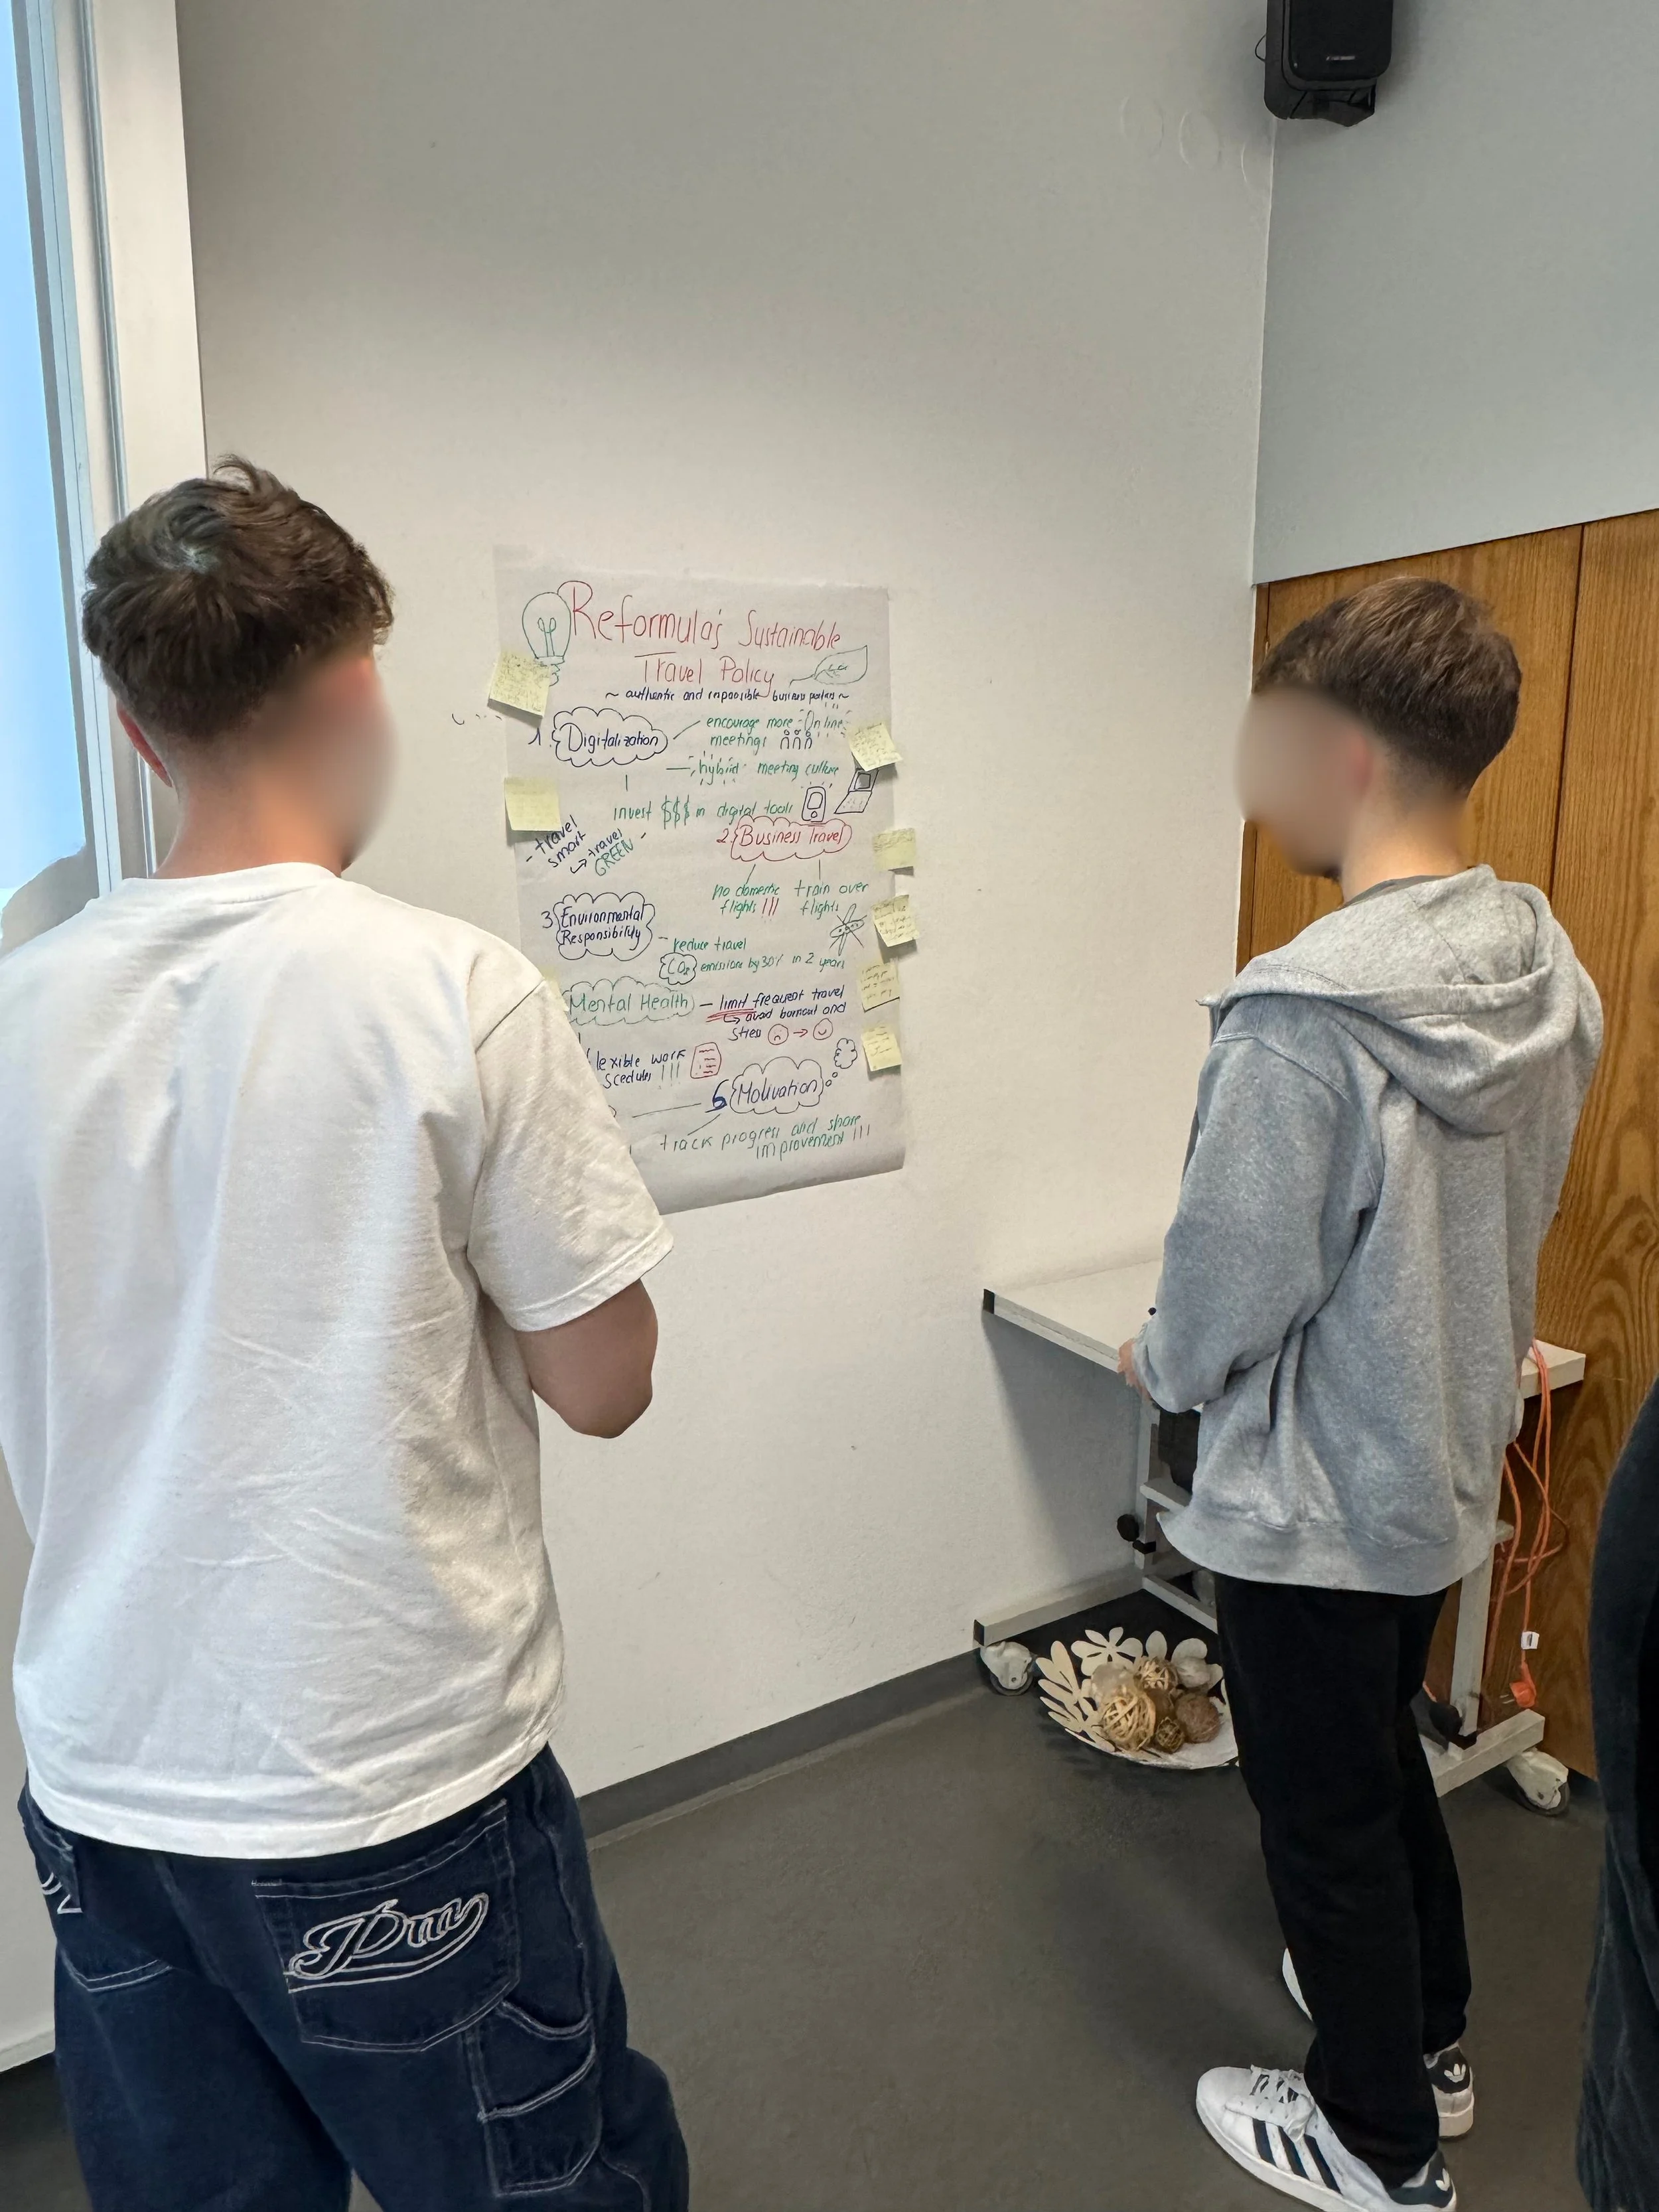
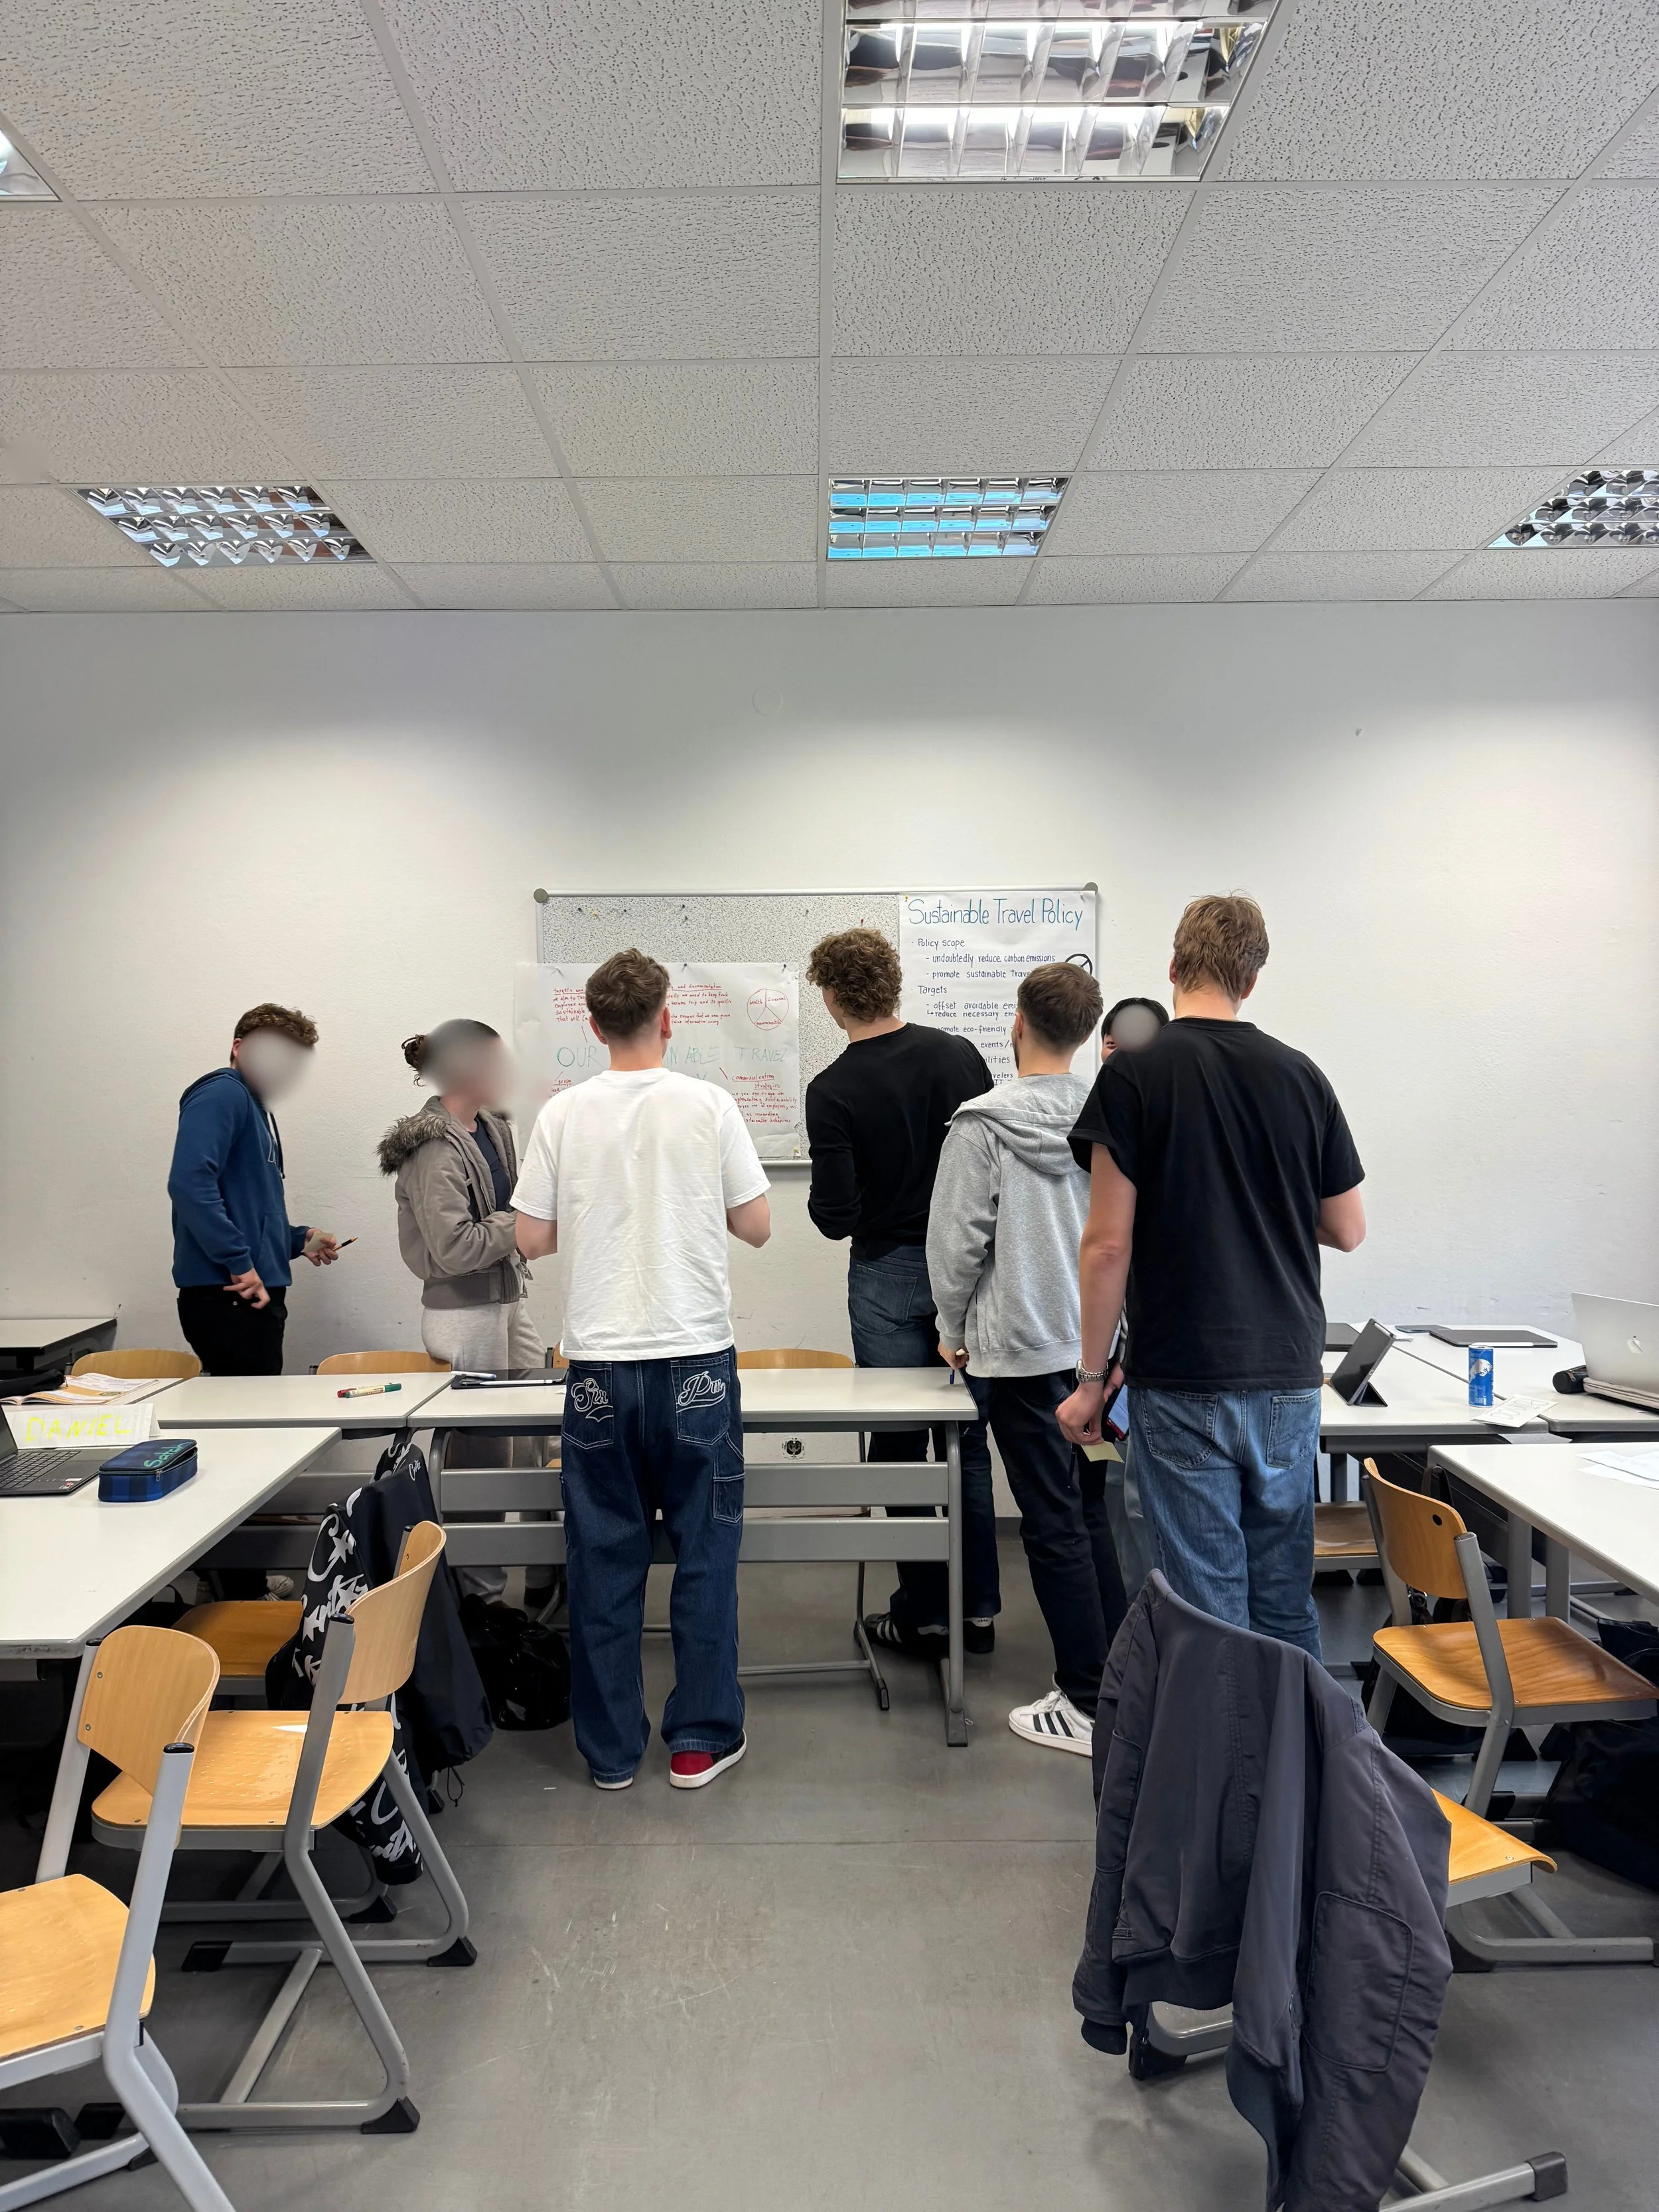
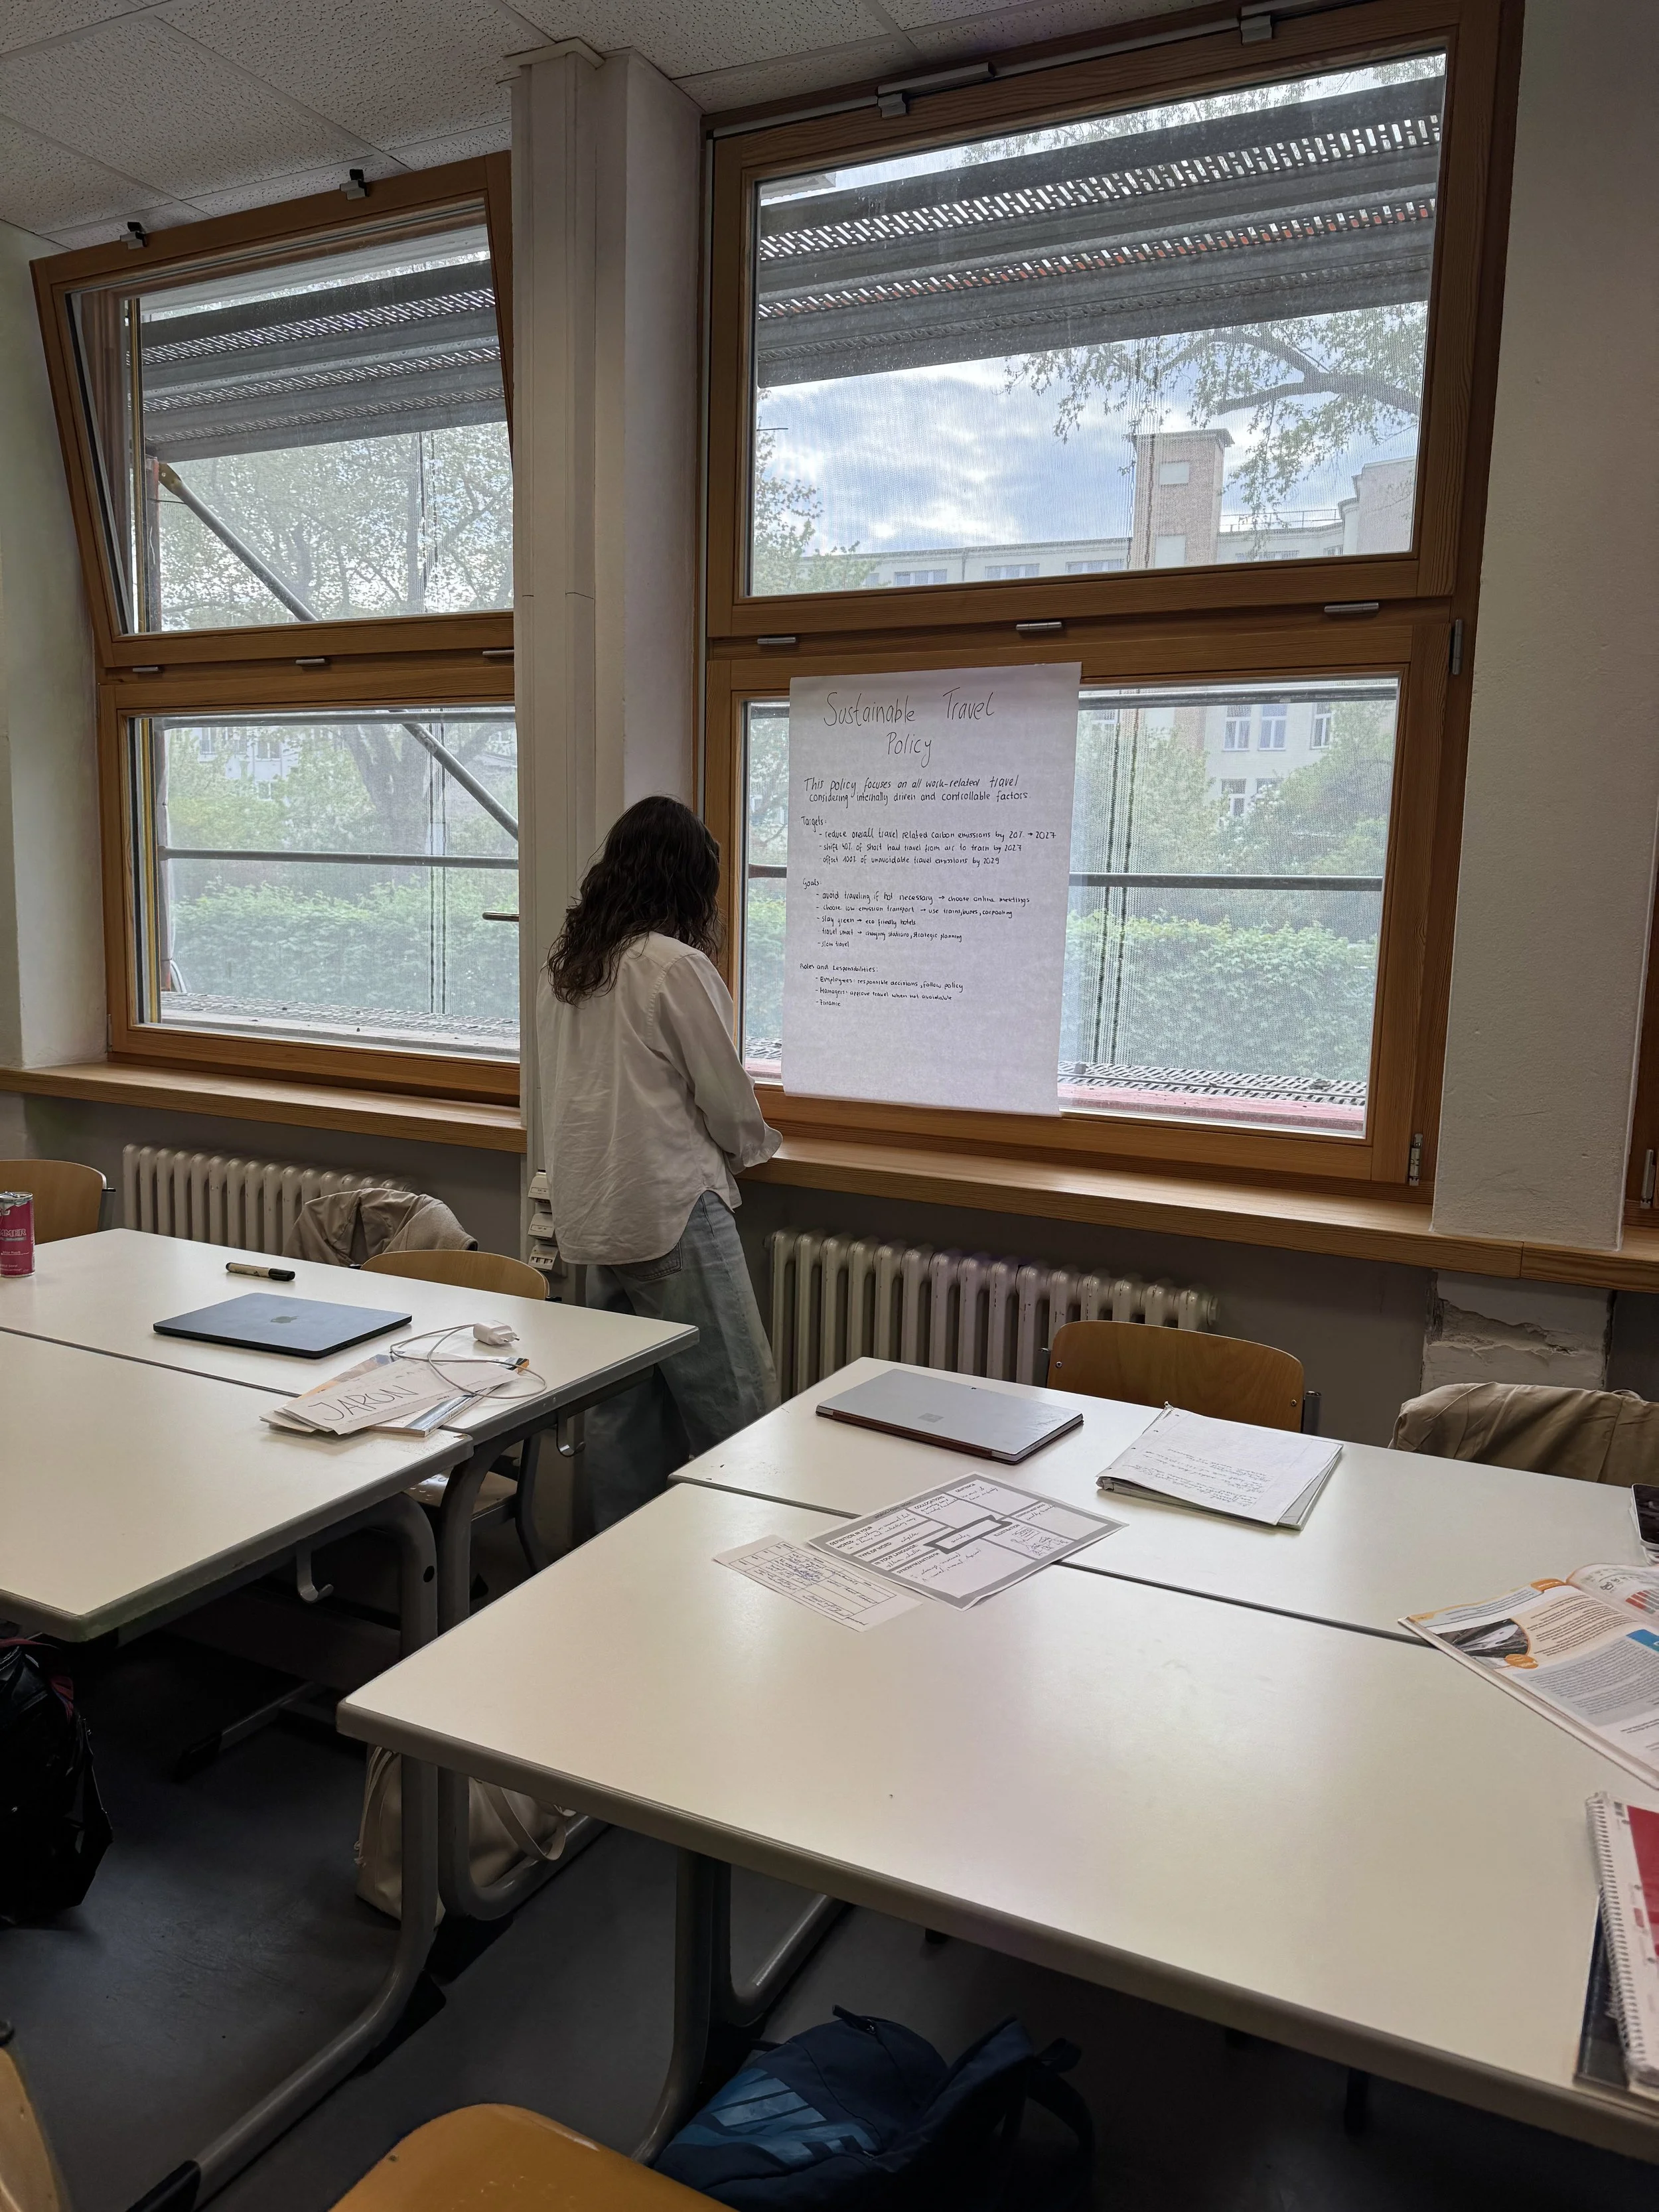
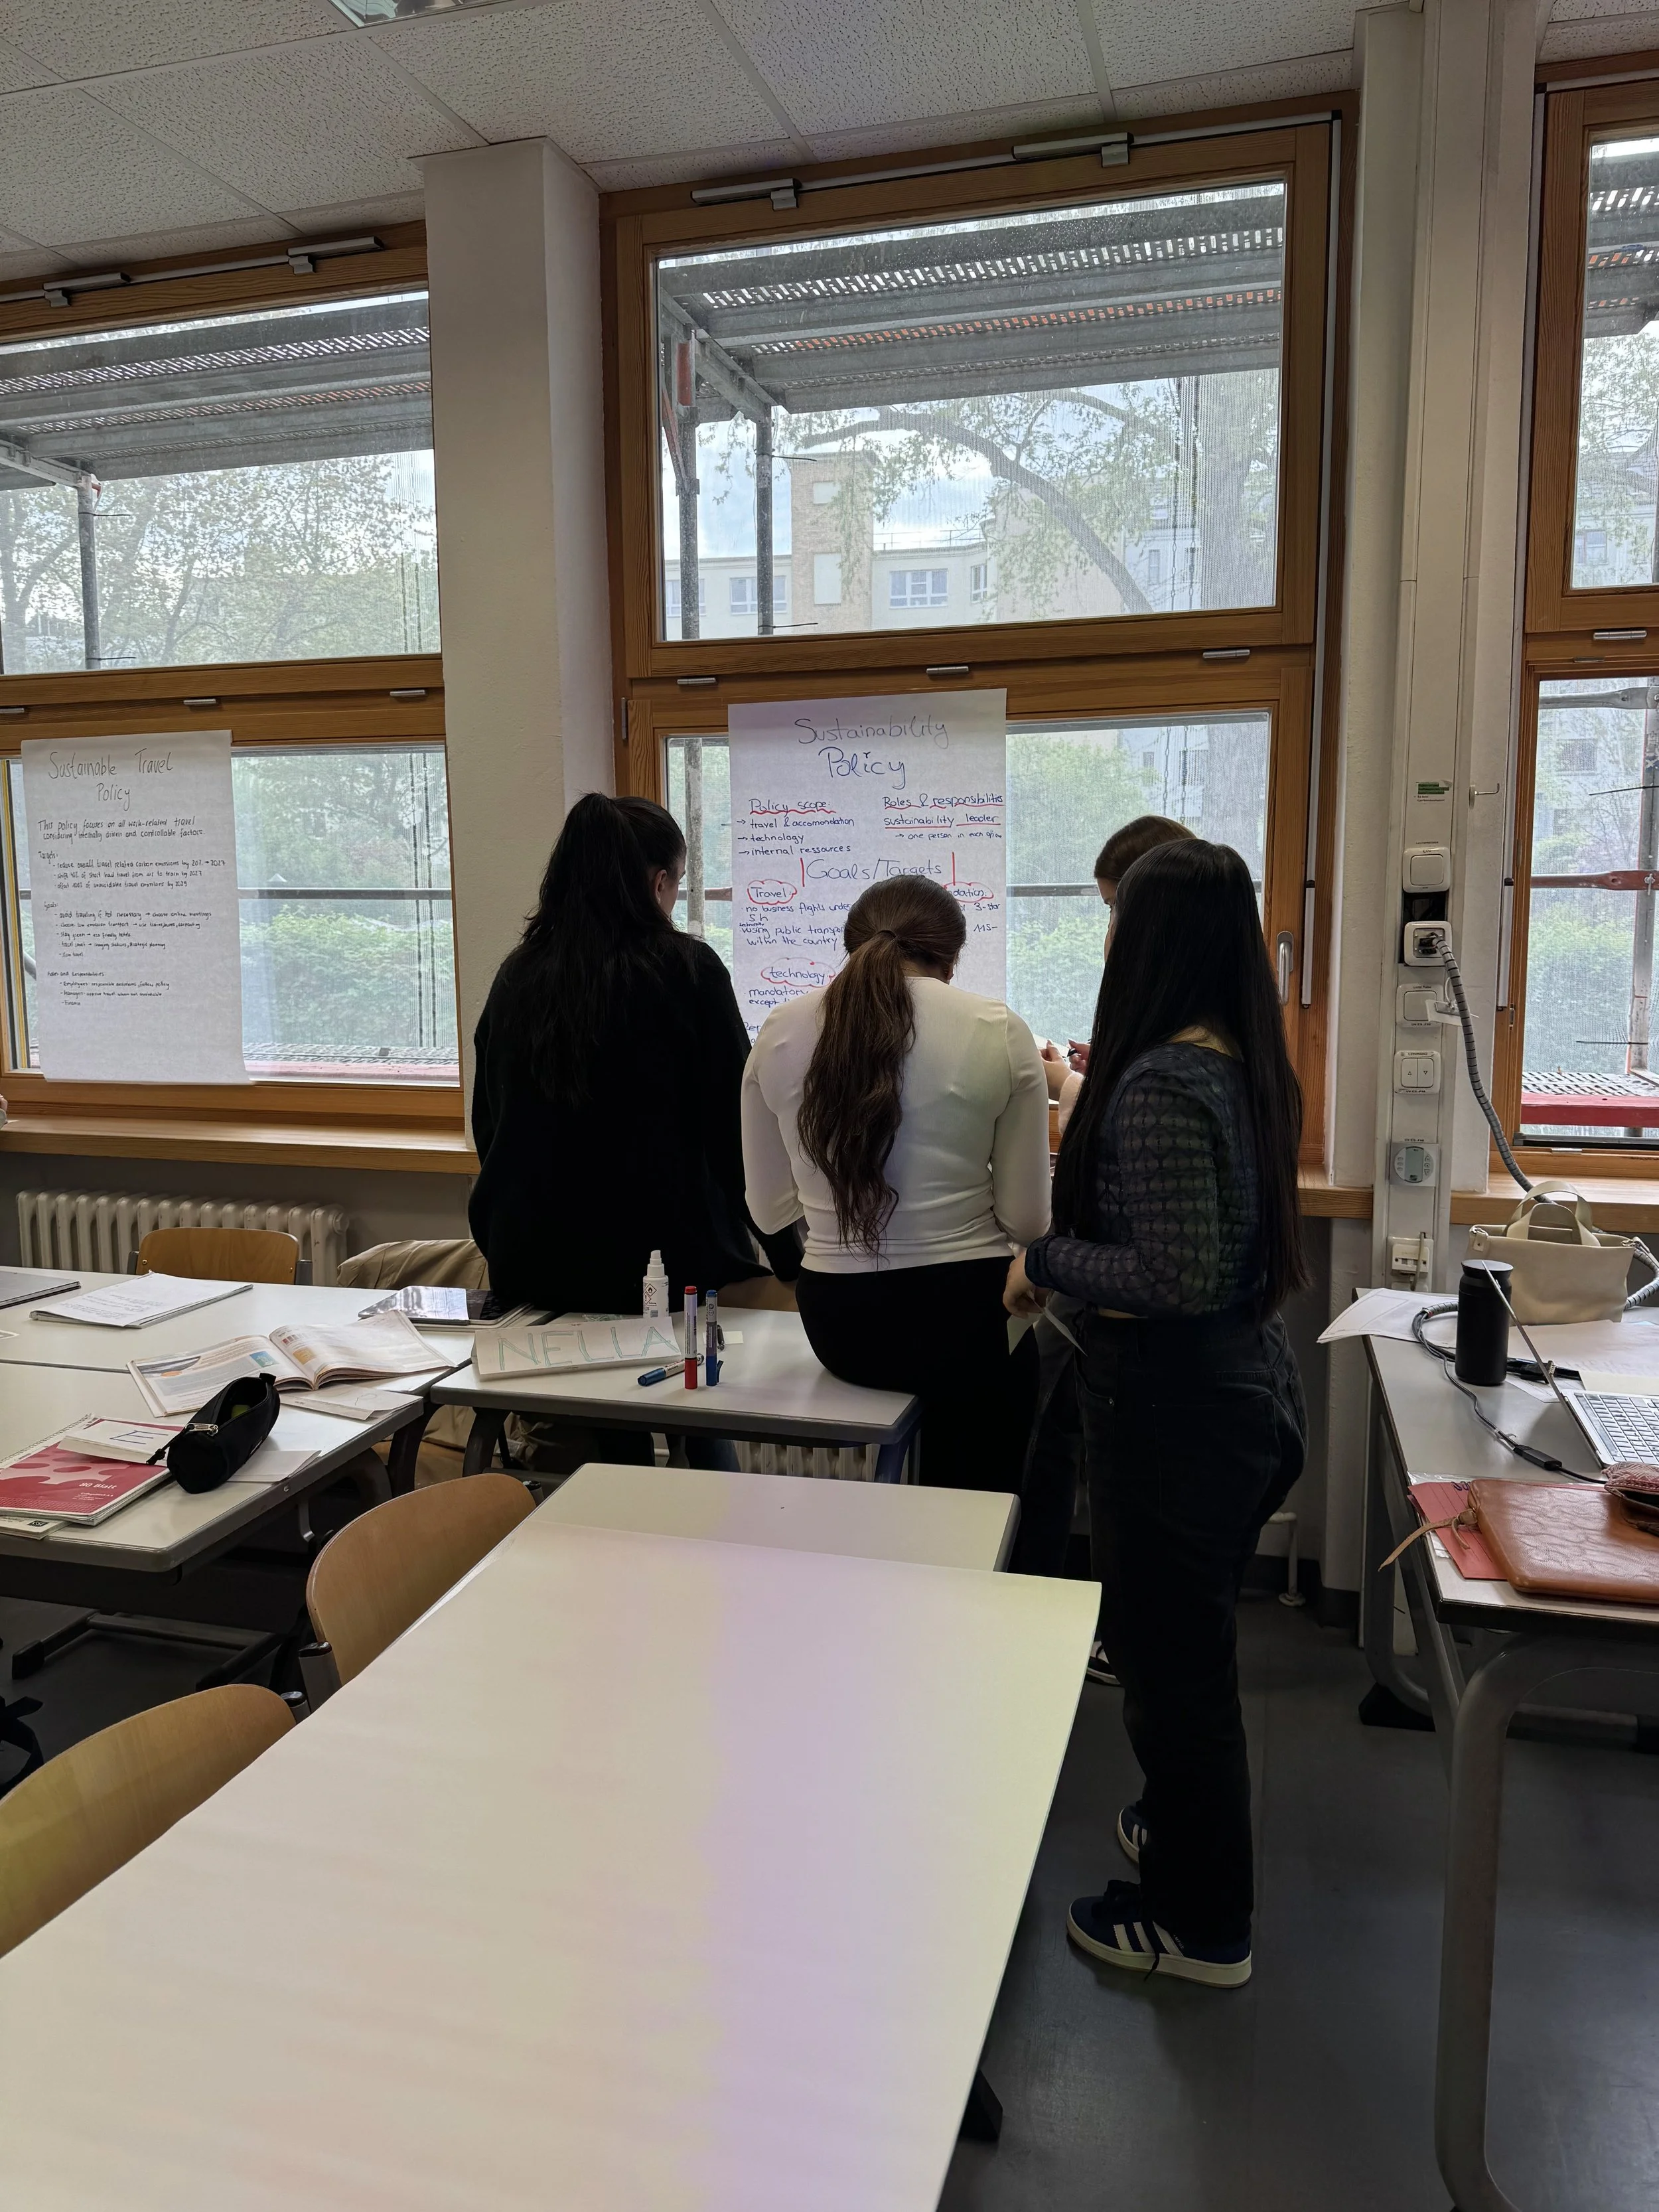
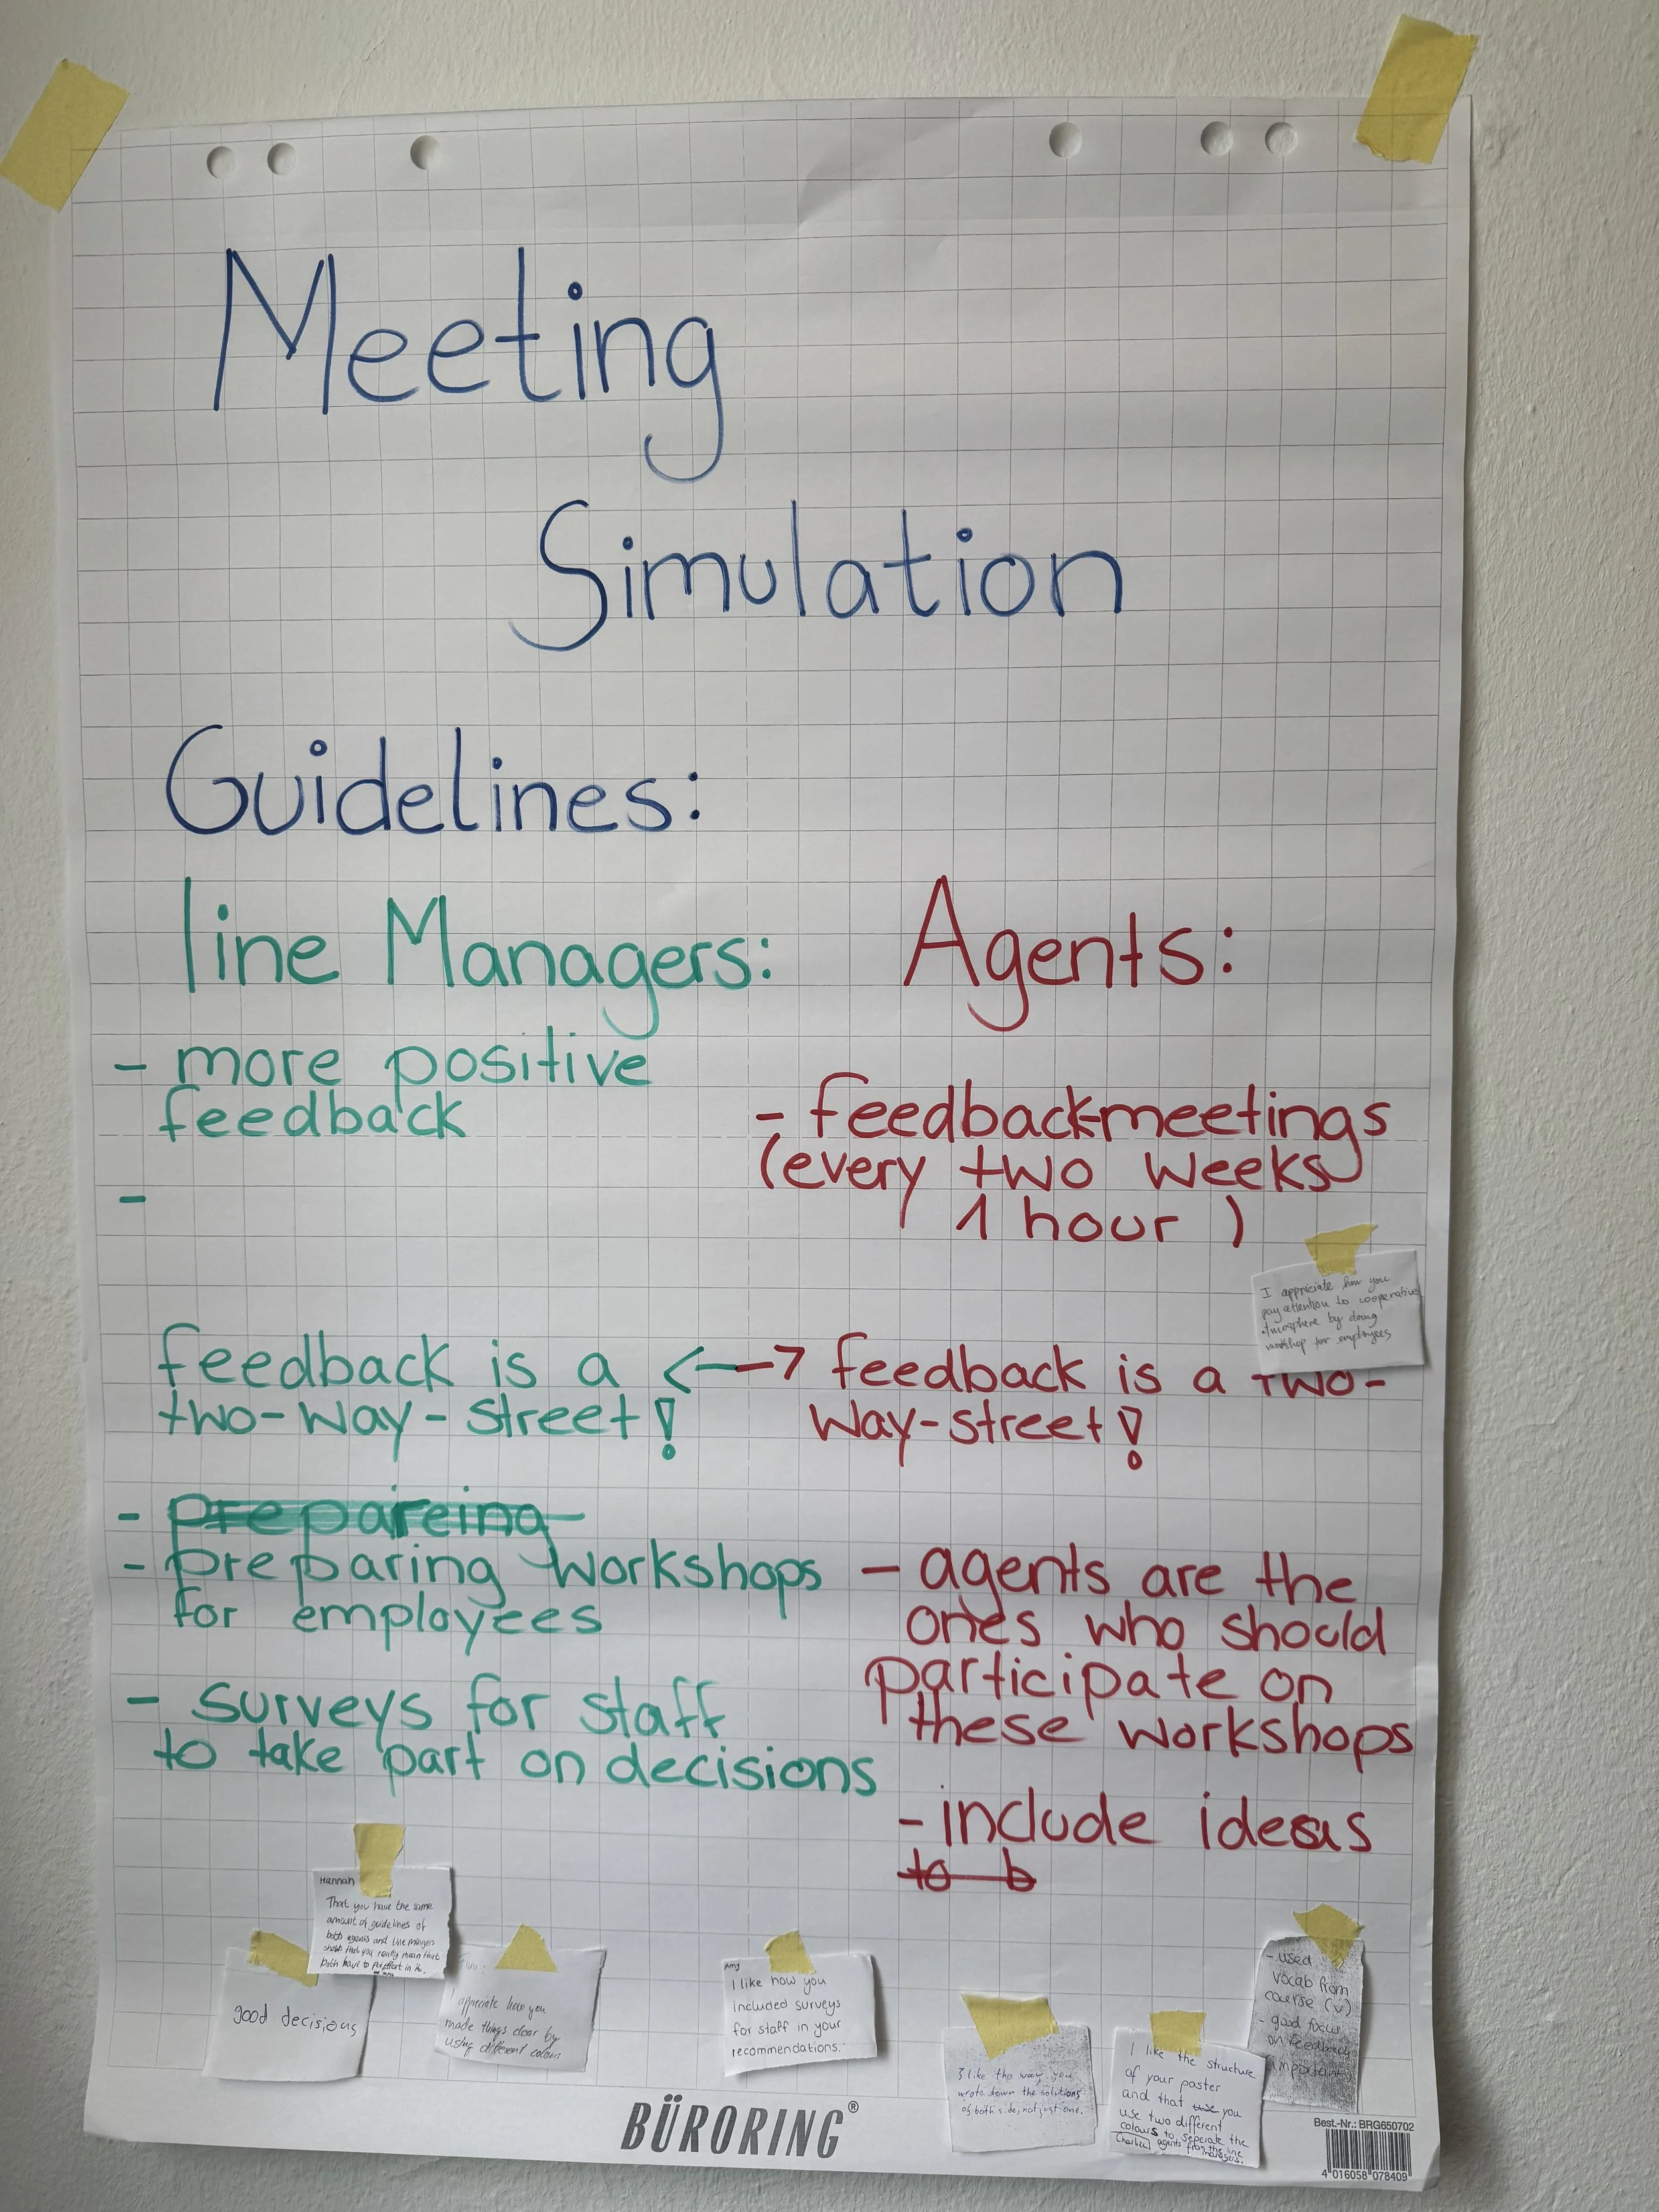
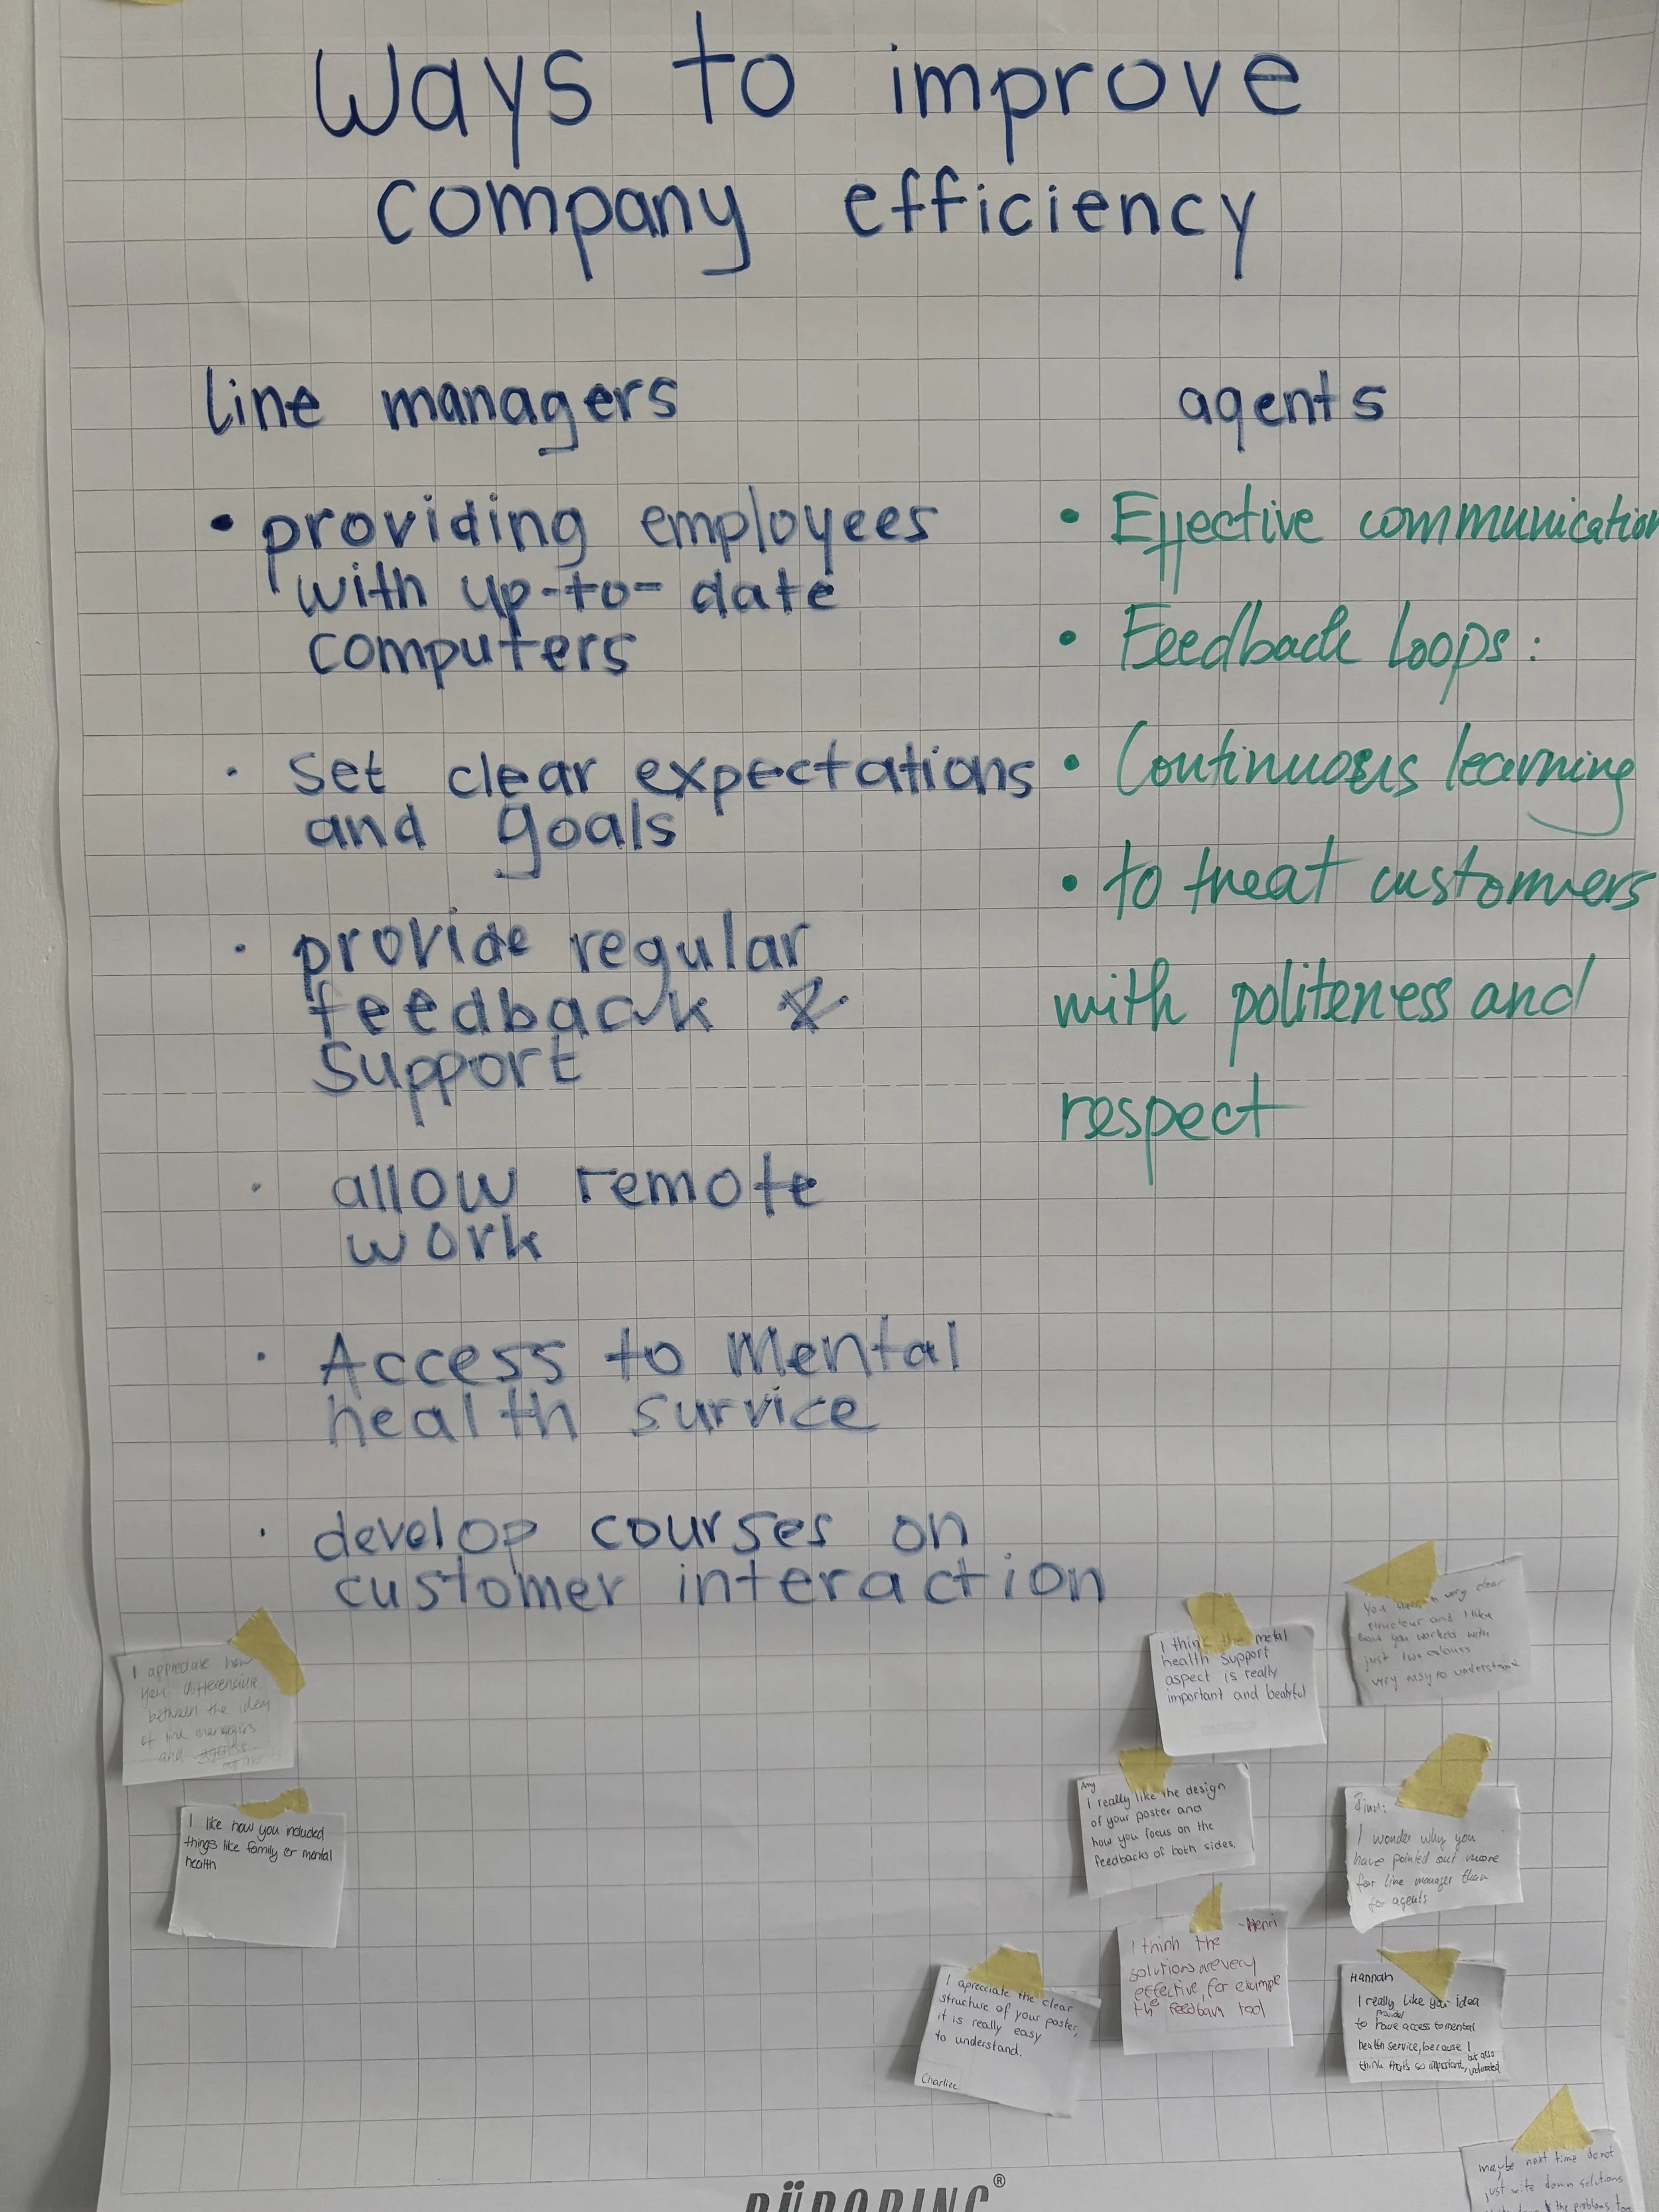
Meeting → Guidelines → Gallery
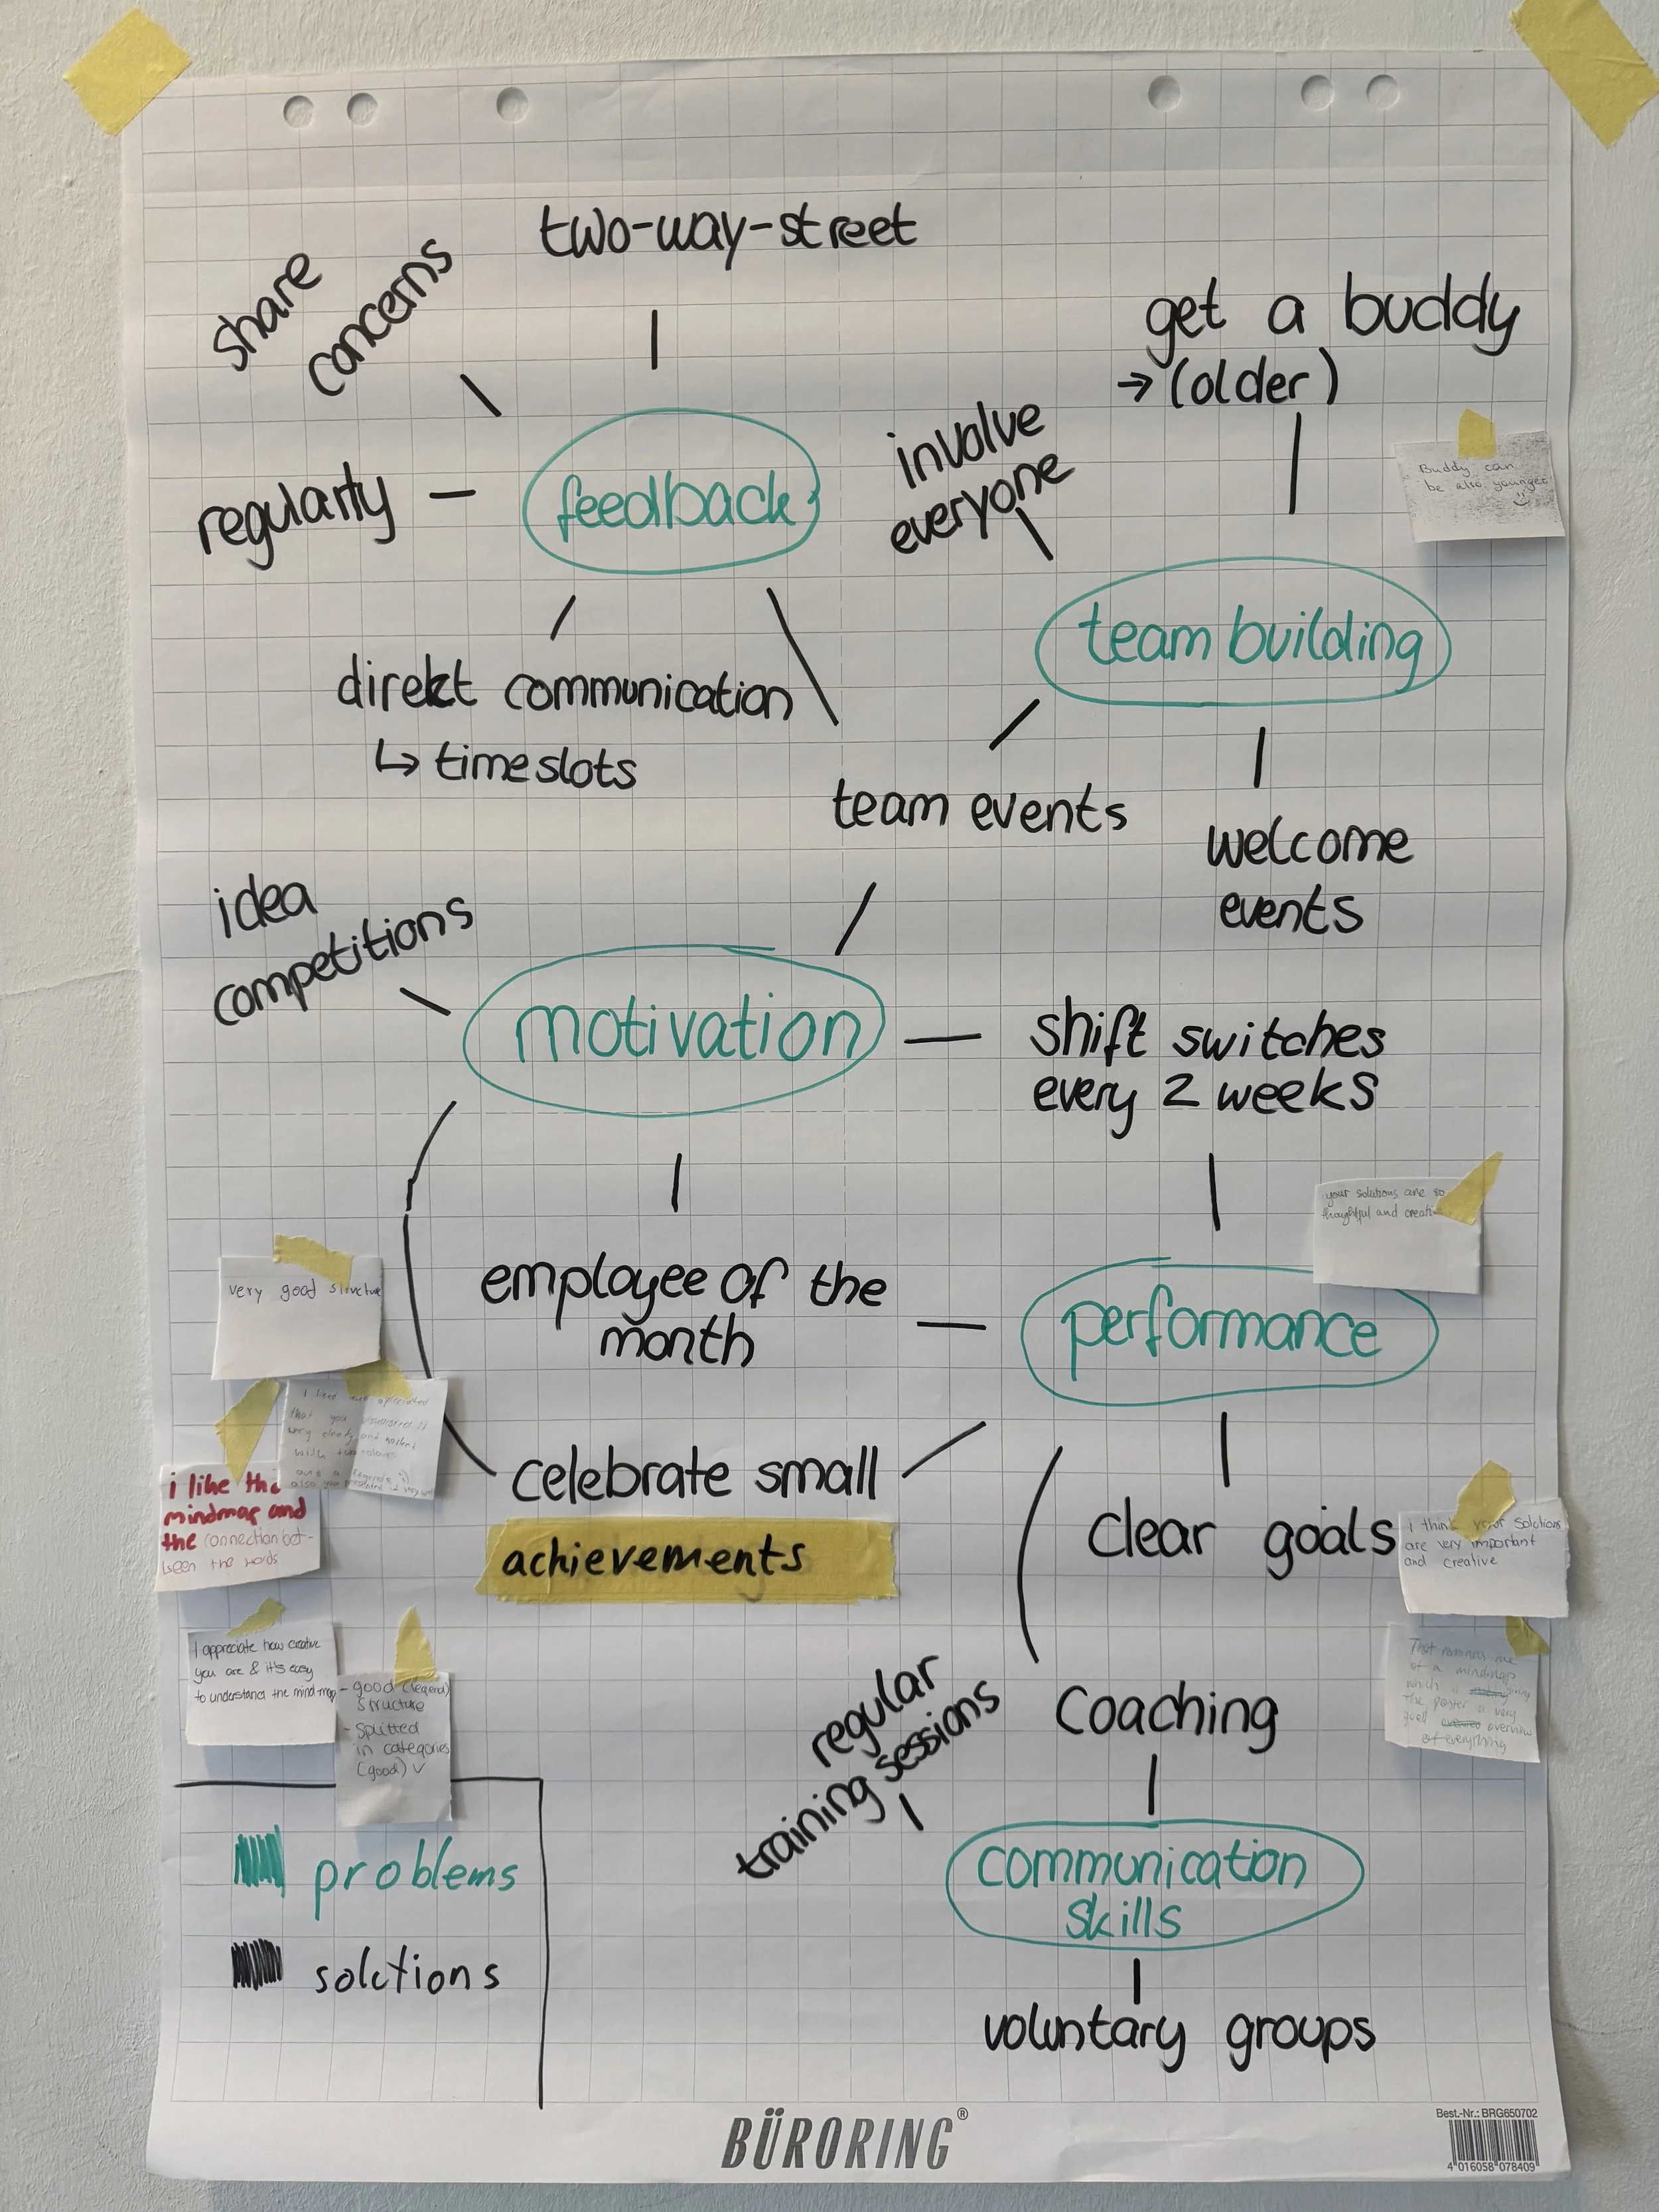
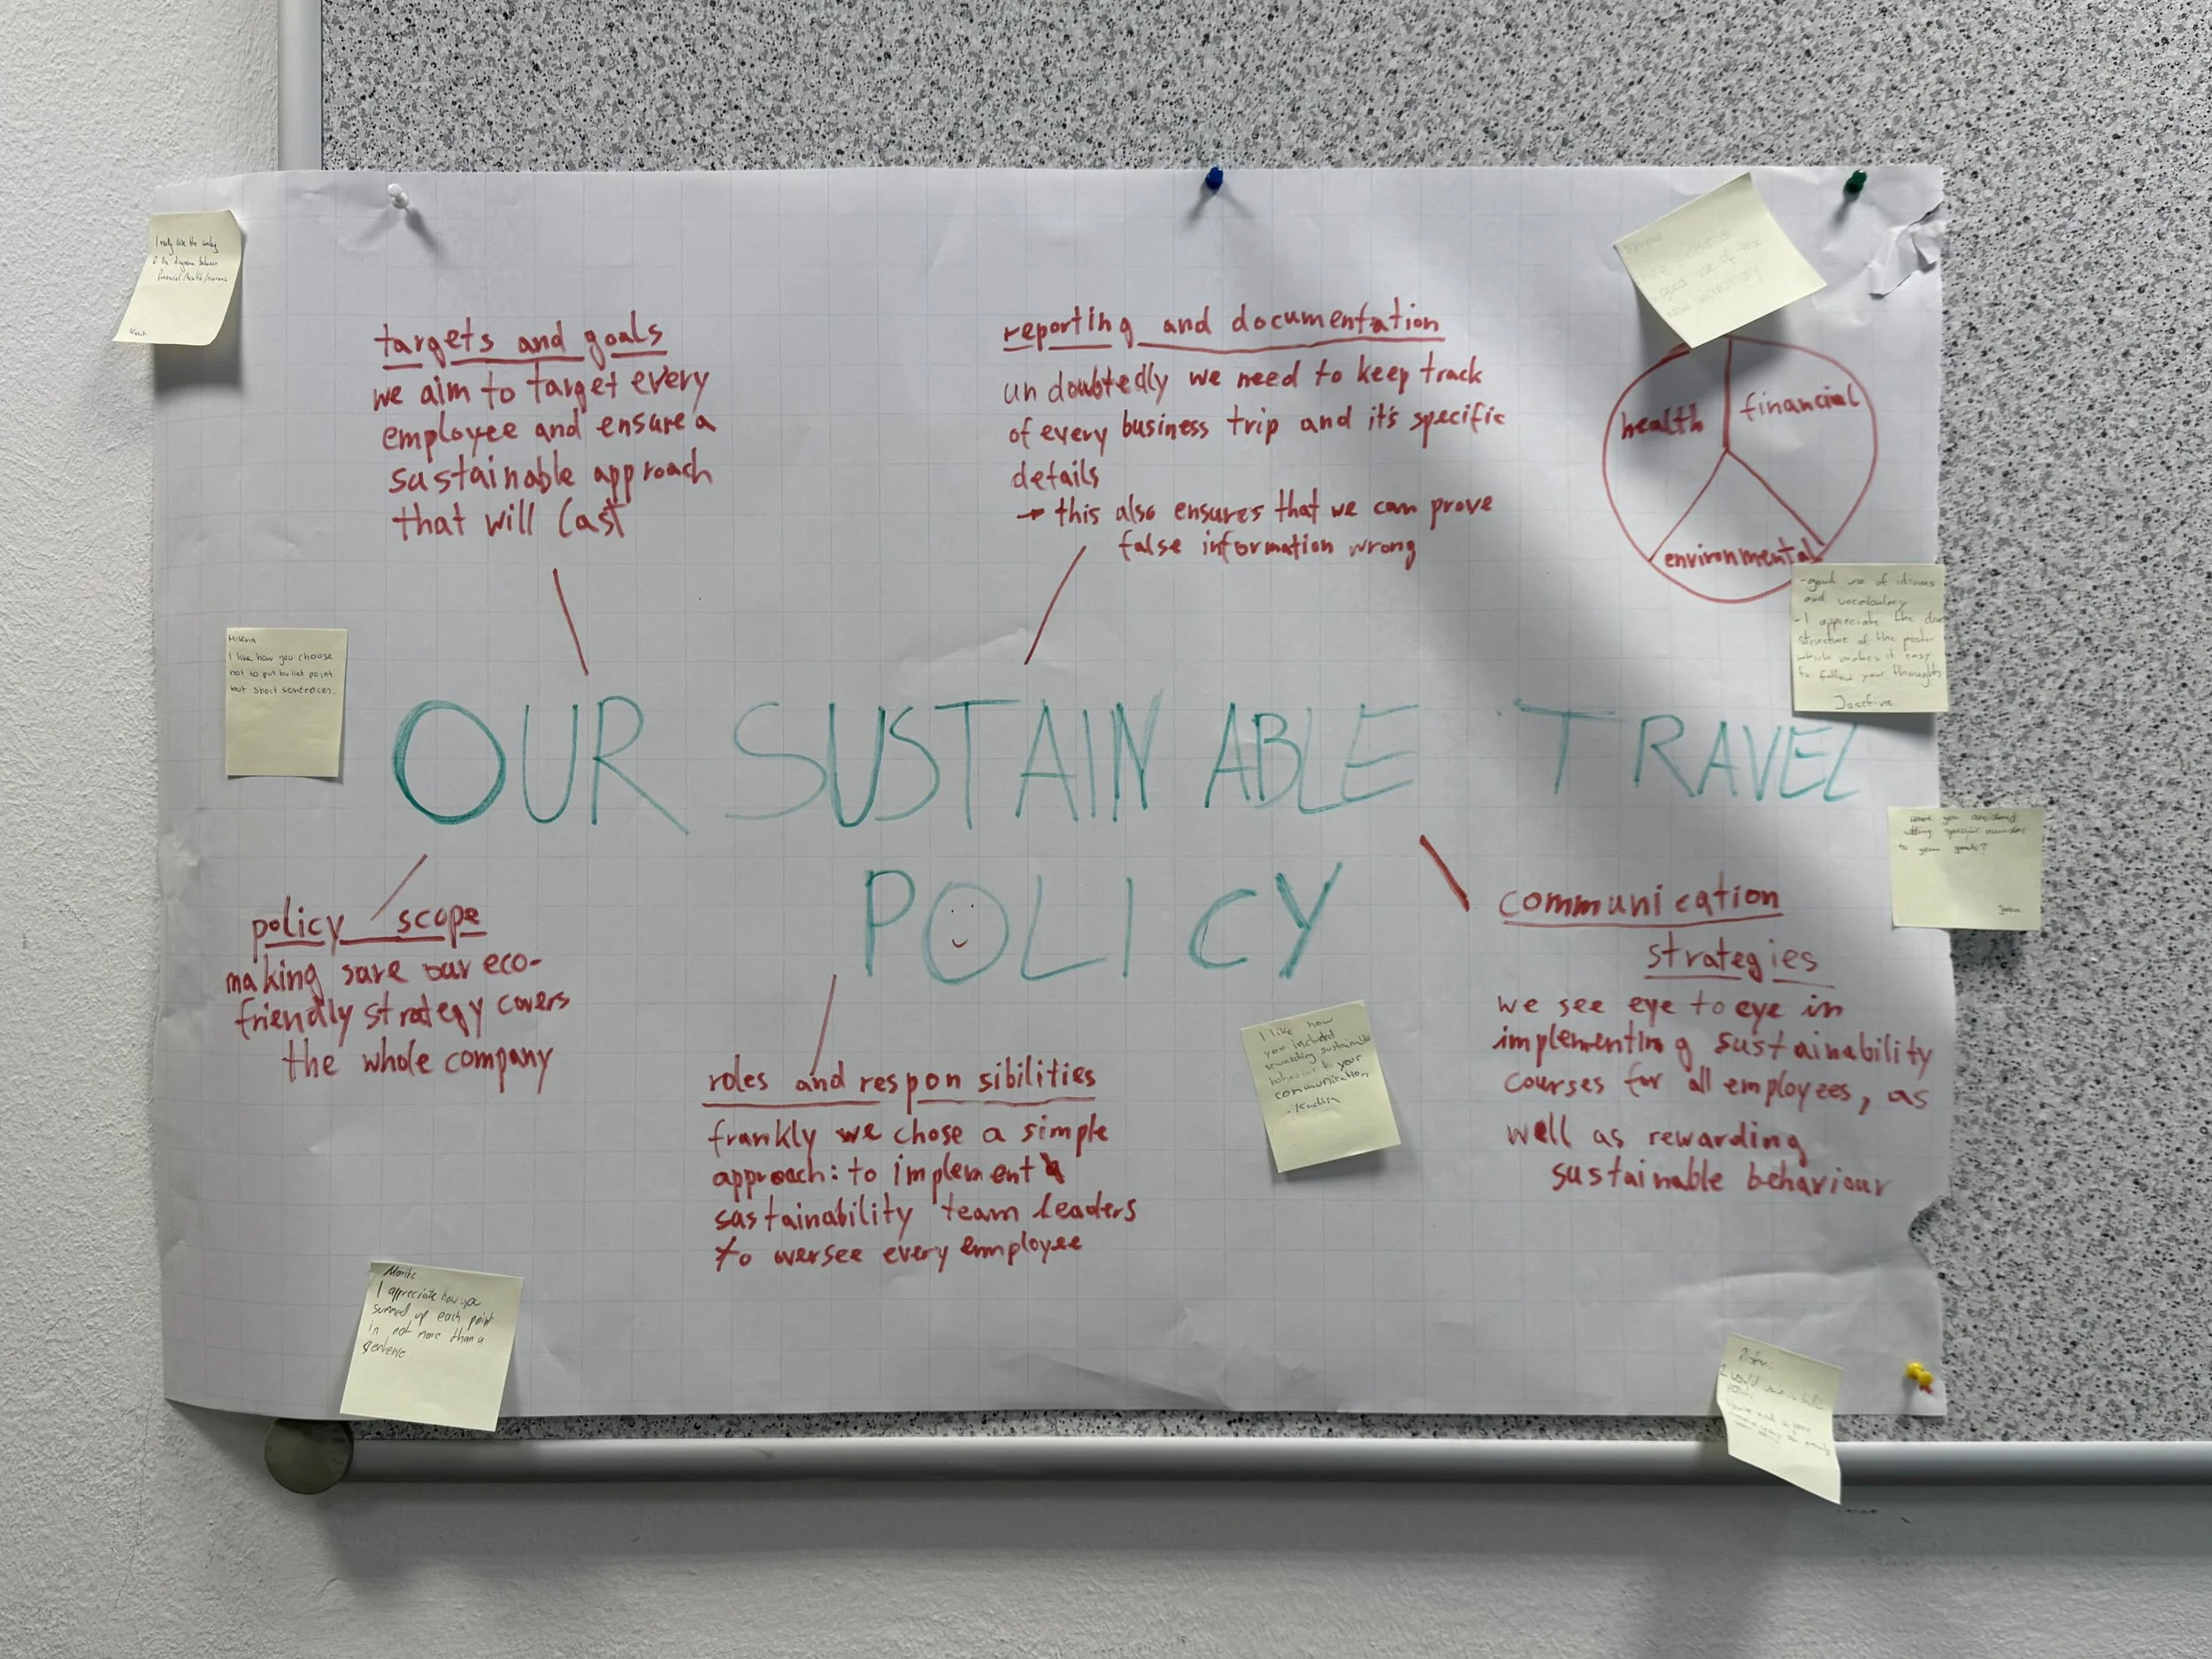
This is a fuller sequence that works well over a longer session. Students hold a structured meeting about any topic you are covering in which they identify the key issues and negotiate proposed guidelines or policies. In my case, it was about workplace conflicts, namely tension between line managers and employees.
They then summarise their agreed guidelines on a flipchart. The gallery walk phase uses the peer feedback structure above, but with a specific professional frame: feedback should read like a consultant's notes, not a peer's comment. This is a great way to integrate meeting skills, negotiation language, and written summary all in one sequence.
Peer Feedback Ideas Beyond the Sticky Note
Depending on your level and learning objectives, you can vary the peer-feedback task:
Traffic lights. Green stickets = something that works well. Orange = something that could be clearer. Red = something that needs rethinking. Simple, visual, and useful for lower levels.
Specific language focus. Ask students to look only for examples of a target structure (e.g.conditional sentences, passive constructions, hedging language) and note where they appear (or where they're missing).
The question protocol. Students can only leave questions, not statements. This prevents prescriptive feedback and encourages genuine curiosity: Why did you choose this word? What did you mean here? Have you considered...?
Colour-coded roles. In groups of three, each person takes a different coloured sticky note and a different role: language commentator, content commentator, and question-asker. Structured roles reduce the paralysis of "I don't know what to write."
A Note on Levels: Does This Work Across the Board?
In my experience, yes with some adaptation and scaffolding. I've run versions of gallery walks with lower B1 learners all the way through to C1 professionals. The key variables are the complexity of the task, the scaffolding you provide for the feedback, and the amount of language support you build in beforehand.
For lower levels, provide sentence starters for the feedback notes: I liked the way you... / I wasn't sure what you meant by... / Could you try...? You can also simplify the task itself. Groups might produce a list of key words, a short summary, or a labelled diagram.
For groups with mixed levels, pair students during the walk rather than leaving everyone to circulate alone. A brief whole-class discussion after the walk also gives you a chance to surface language that came up across the room and address it with everyone at once.
And if you're worried about participation, don't be. In my experience, quieter students often shine in this format. There's no pressure to speak in front of the group, the pace is self-directed, and writing a sticky note feels far less exposing than raising your hand.
What About Digital Options?
Gallery walks are fundamentally analogue, and that's a feature, not a bug. The physical act of moving, writing by hand, and sticking things on walls changes the classroom dynamic in ways that screen-based tools don't replicate.
That said, if you're working in a hybrid environment or want to extend the activity beyond the classroom, Padlet is the closest digital equivalent. Students can upload photos of their work, leave comments, and organise posts by group. Jamboard was a favorite of mine, but alas, Google decided it was not worth keeping. I have not gotten over that sunset. I’ve heard teachers use Miro for complex collaborative tasks with groups that are comfortable with digital tools, but I have never used it. If you have, let me know.
If you have a blended class (some in person, some remote, also hats off to you), a hybrid gallery walk using a shared Padlet can work, though it does require more logistical coordination. For fully online contexts, breakout rooms with shared slides in Google Slides or Canva can approximate the gallery effect, but I'd always choose the physical version when you have the choice. There's something that happens in that analogue space that's harder to manufacture digitally.
Quick Tips for Making It Run Smoothly
Time the production phase generously. Students often underestimate how long it takes to write something readable at gallery scale. Build in more time than you think you need. My B1+ students took 45 min to prepare their flipcharts presenting the data analysis they completed.
Model the feedback before they walk. Show a sample flipchart and demonstrate what a helpful sticky note looks like versus a vague one. "Good work!" or “I like that phrase” is not useful feedback. "The phrase 'I regret to inform you' works well here because it is formal" is.
Resist the urge to correct everything yourself. Let the peer process do the work. Your job during the gallery walk is to circulate, listen, ask questions, and take note of language patterns to address in a later feedback stage, not to become a walking red pen. This is easier said than done.
Debrief the language, not just the content. After the gallery, pull out two or three interesting language choices you noticed like a particularly effective phrase, a common error, or a an great piece of hedging, and discuss them with the whole group. This ties the activity back to explicit language development.
Want to Take This Further?
If this resonates with you, I'd love to help you go deeper. At Mariana's Learning Space, I work with language educators who want to teach with more confidence, creativity, and purpose, whether that's through one-to-one coaching, collaborative planning, or workshops built around exactly these kinds of active learning strategies.
👉Find out how we can work together
Have you tried gallery walks with your adult learners? I'd love to hear what you did and how it went, drop a comment below or find me on LinkedIn.